Growing up, the smell of a slow-cooking oven roasted brisket meant a special occasion was just around the corner. It was the centerpiece of holiday meals and big family gatherings, a dish that promised warmth, laughter, and full bellies. My grandmother had a way with brisket; it would fall apart with just a gentle nudge from a fork. For years, I thought this level of perfection required a smoker or some secret, unattainable kitchen magic. But I discovered the truth: a truly spectacular oven roasted brisket is completely achievable in a standard home oven. It just requires a little patience and the right method. This recipe demystifies the process, giving you that melt-in-your-mouth beef that will become a new family tradition. Forget tough, dry results; we’re making a juicy, flavorful oven roasted brisket that tastes like it cooked all day with love.
Understanding Your Oven Roasted Brisket
Before you even turn on the oven, the journey to a perfect oven roasted brisket begins at the butcher counter. Selecting the right cut of meat is the first and most critical step. Brisket is a large cut from the breast or lower chest of beef, and it’s known for its rich flavor, which comes from its connective tissue and fat.
Choosing the Right Cut
You’ll typically find two types of brisket cuts: the flat and the point. The “flat” cut (also called the first cut) is leaner and has a more uniform, rectangular shape, making it easier to slice evenly. The “point” cut (or second cut) is thicker, fattier, and has more marbling, which gives it incredible flavor and moisture. For this recipe, I recommend a whole “packer” brisket if you can find one, which includes both the flat and the point. If not, a flat cut of about 4-6 pounds is a great choice for an oven roasted brisket. Look for a cut with a good, even fat cap—about a quarter-inch thick is ideal. This fat layer is essential, as it will melt during the long cooking process, basting the meat and keeping it incredibly juicy.
The Importance of the Fat Cap
That layer of fat on top of the brisket isn’t just for show; it’s your built-in baster. As the brisket roasts slowly, the fat cap renders down, dripping its flavorful oils over and into the meat. This process prevents the brisket from drying out over the many hours it spends in the oven. Some people trim the fat cap aggressively, but I suggest leaving at least a ¼-inch layer. Don’t worry about the dish being greasy; most of the fat renders away, leaving behind pure, beefy goodness and a tender texture. When you place it in the roasting pan, always position it fat-side up to let gravity do the work.
Building Layers of Flavor
A great brisket isn’t just tender; it’s packed with deep, savory flavor through and through. This doesn’t happen by accident. It’s the result of a deliberate seasoning process that starts long before the brisket sees the heat of the oven. A simple but powerful dry rub is the key.
The Perfect Dry Rub
You don’t need a complicated list of ingredients for a fantastic brisket rub. The goal is to complement the natural beefy flavor, not overwhelm it. My go-to rub is a classic blend of simple pantry staples: kosher salt, coarse black pepper, smoked paprika, garlic powder, and onion powder. The smoked paprika adds a subtle smokiness that mimics a traditional smoker, while the garlic and onion powders provide a savory base. Be generous with the rub. You want to coat the entire surface of the brisket, patting it gently into the meat so it adheres well.
Marinating for Maximum Taste
For the best results, apply the dry rub to the brisket at least 12 hours, and up to 24 hours, before you plan to cook it. This process, known as a dry brine, does more than just season the surface. The salt draws moisture from the meat, dissolves the spices, and then gets reabsorbed back into the brisket, carrying all that amazing flavor deep inside. Wrap the seasoned brisket tightly in plastic wrap and let it rest in the refrigerator. This single step makes a huge difference in the final taste and texture of your oven brisket.
My Easy Oven Roasted Brisket Recipe
The secret to turning a tough cut of meat into a fall-apart tender meal is cooking it low and slow. This is where patience pays off. This oven roasted brisket recipe uses a slow roasting method that breaks down the tough connective tissues, resulting in that signature juicy texture.
The Slow-Cooking Method
Set your oven to a low temperature, around 300°F (150°C). This gentle heat allows the collagen in the brisket to slowly melt into gelatin, which is what makes the meat so succulent. Roasting it too high or too fast will cause the muscle fibers to tighten up, leading to a tough and chewy result. We’ll start by searing the brisket to create a beautiful crust and then let it cook slowly for several hours. This combination of searing and slow roasting gives you the best of both worlds: a flavorful exterior and a tender interior. A good brisket is defined by its tenderness, which is a direct result of this cooking style.
Braising for Moisture
To make sure the brisket stays moist, we will use a braising liquid. After the initial searing, you’ll add beef broth, onions, and garlic to the roasting pan. This liquid creates a steamy environment inside the pan, which helps keep the meat from drying out. Cover the pan tightly with foil. This traps the steam, effectively braising the brisket as it roasts. The combination of the dry rub and the aromatic braising liquid creates a complex flavor profile that is absolutely delicious. This oven roasted brisket recipe is a surefire way to get amazing results every time.
Finishing and Serving Your Brisket
You’ve been patient, your kitchen smells incredible, and the brisket is finally tender. But there are two more crucial steps before you can dig in: resting and slicing. Skipping the resting period is one of the biggest mistakes you can make after spending hours cooking your meat to perfection.
The Crucial Resting Period
Once the brisket reaches an internal temperature of about 200°F and is fork-tender, remove it from the oven. Transfer the brisket to a large cutting board and let it rest for at least 30 minutes, though an hour is even better. You can tent it loosely with foil to keep it warm. This resting time allows the muscle fibers to relax and the juices to redistribute throughout the meat. If you slice into it immediately, all that precious moisture will run out onto the cutting board, leaving you with dry brisket.
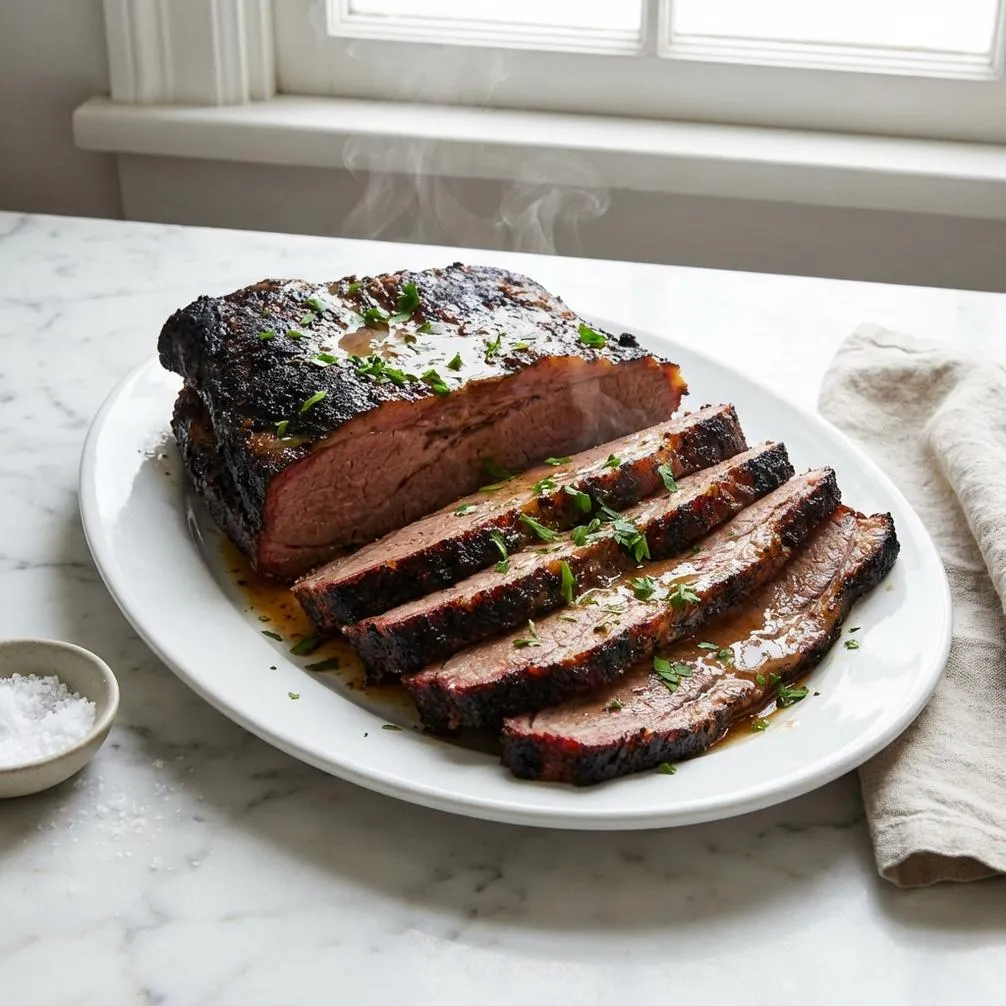
Slicing Against the Grain
Proper slicing is just as important as proper cooking. Look closely at the brisket, and you’ll see the lines of the muscle fibers running in a certain direction—this is “the grain.” To get the most tender slices, you must cut against the grain. Slicing with the grain results in long, chewy muscle fibers. By cutting against them, you shorten those fibers, making each bite incredibly tender. Use a long, sharp carving knife for clean cuts. Aim for slices about the thickness of a pencil. Serve the brisket with some of the pan juices spooned over the top. The leftovers are also amazing in sandwiches, tacos, or even used in place of corned beef for a unique brisket hash.

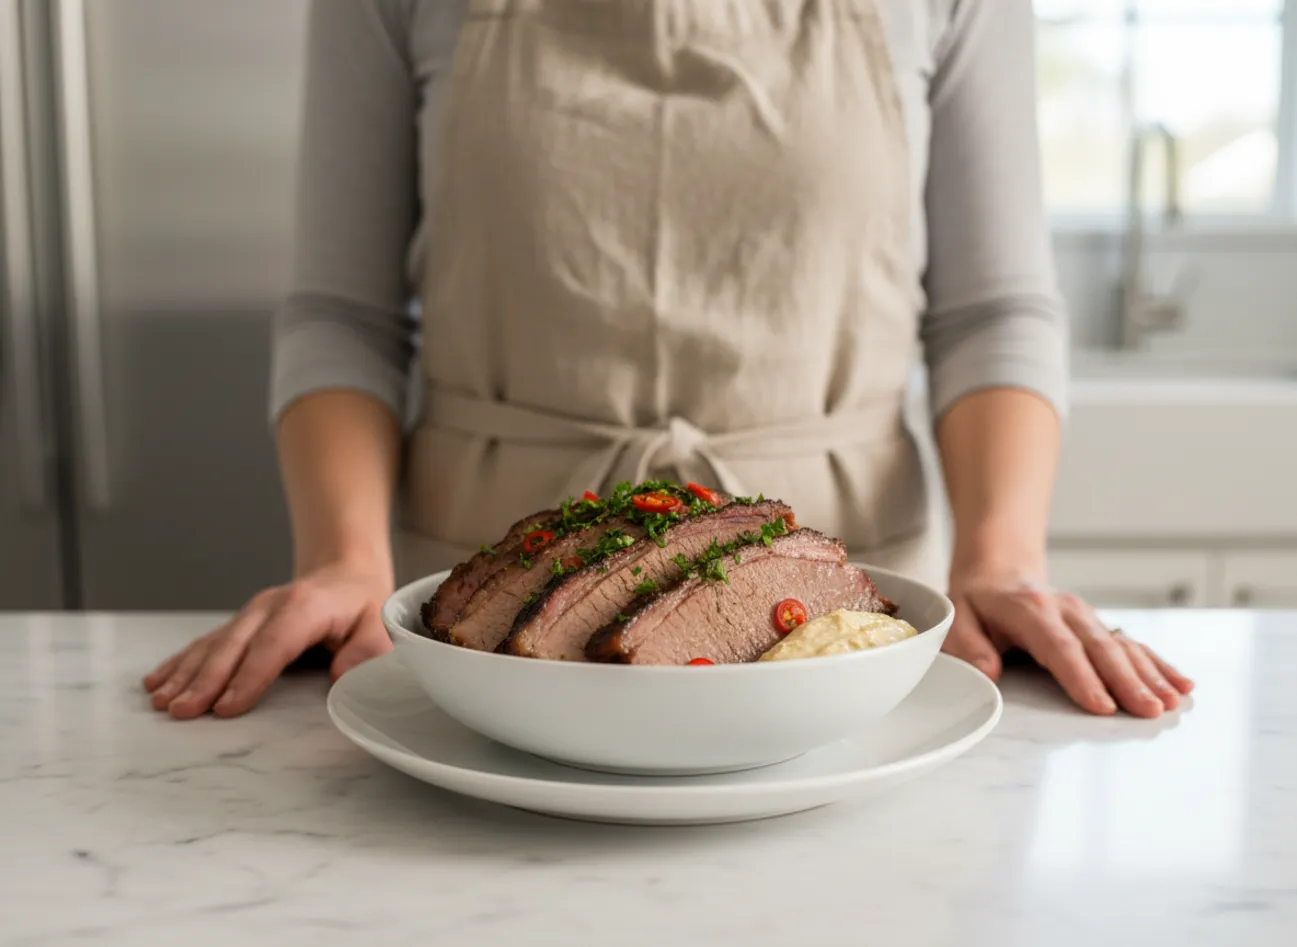
Fall-Apart Oven Roasted Brisket
Fall-Apart Oven Roasted Brisket
Ingredients
- 5 lb beef brisket flat cut, with a ¼-inch fat cap
- 2 tablespoons kosher salt
- 2 tablespoons coarse black pepper
- 2 tablespoons smoked paprika
- 1 tablespoon garlic powder
- 1 tablespoon onion powder
- 2 tablespoons olive oil
- 2 large yellow onions sliced
- 6 cloves garlic smashed
- 3 cups beef broth
Instructions
- Prepare the rub by mixing kosher salt, black pepper, smoked paprika, garlic powder, and onion powder in a small bowl.
- Pat brisket dry and rub the spice mixture evenly over it. Wrap tightly in plastic and refrigerate for at least 12 hours or overnight for best results.
- Preheat oven to 300°F (150°C). Heat olive oil in a Dutch oven or roasting pan over medium-high heat. Sear brisket fat-side down for 4-5 minutes per side until a deep brown crust forms. Remove brisket and set aside.
- Add sliced onions to the pan and cook 5-7 minutes until softened. Add smashed garlic and cook 1 more minute until fragrant. Pour in beef broth, scraping the pan to lift browned bits.
- Place brisket back in the pan, fat-side up, on top of onions. Liquid should come halfway up the brisket sides.
- Cover tightly with foil or pan lid and roast in the oven for 4–4.5 hours, until fork-tender and thickest part reaches 200–205°F.
- Remove brisket and let rest on a cutting board for at least 30 minutes.
- Slice against the grain into ¼-inch thick slices. Serve with pan juices and onions spooned over the top.
Notes
Frequently Asked Questions
Do you cook brisket fat side up or down in the oven?
Always cook brisket fat-side up in the oven. As the brisket roasts, the fat cap melts and bastes the meat, which keeps it moist and adds a tremendous amount of flavor. This self-basting method is key to a succulent oven roasted brisket.
What temperature should you oven roast brisket at?
A low temperature is crucial for tender brisket. I recommend roasting it at 300°F (150°C). This slow cooking process allows the tough connective tissues to break down gently, transforming the meat into something incredibly tender without drying it out.
How do you keep brisket moist in the oven?
There are three main ways to keep brisket moist in the oven. First, choose a cut with a good fat cap. Second, cook it in a braising liquid like beef broth. Third, cover the roasting pan tightly with foil or a lid to trap steam, which creates a humid cooking environment.
Should you wrap brisket in foil when cooking in the oven?
Yes, wrapping the roasting pan tightly in foil is essential. This technique, often called the “Texas crutch” in smoking circles, traps moisture and steam. This helps speed up the cooking process and pushes the brisket through the stall (a point where the temperature plateaus), all while making sure the meat stays tender and juicy.
Conclusion
Making a perfect oven roasted brisket at home doesn’t require special equipment or expert skills. With a quality cut of beef, a flavorful rub, and the patience to cook it low and slow, you can produce a meal that is truly memorable. This method consistently delivers a juicy, fall-apart tender brisket that will impress your family and friends. It’s a comforting, satisfying dish that proves the best flavors often come from simple techniques done right. Enjoy the process, and get ready for the delicious reward.