There are few things more satisfying than pulling a perfectly cooked beef brisket from the oven. The kind that fills your entire home with an incredible aroma and promises a meal that everyone will talk about for weeks. I remember the first time I attempted one; I was so intimidated. But after many trials, I finally discovered the secret to a ridiculously tender beef brisket. It’s not about complicated techniques or expensive equipment. Instead, it’s about patience and a few key principles.
This recipe delivers a juicy, fall-apart brisket every single time. It’s the kind of meal that makes any day feel like a special occasion. Plus, the leftovers are fantastic—they make an amazing hash for a weekend breakfast. So, if you’ve been dreaming of making a ridiculously tender beef brisket but felt hesitant, this is your sign to go for it. This method is straightforward and produces unbelievable results.
Choosing the Right Cut for a Tender Beef Brisket
The journey to a ridiculously tender beef brisket starts long before you turn on the oven. It begins at the butcher counter. Selecting the right piece of meat is the first and most important step in the process. A good brisket has the potential for greatness, while a poor one will fight you the entire way.
Understanding the Brisket: Flat vs. Point
A whole brisket, also known as a “packer cut,” is made of two distinct muscles: the point and the flat. The “flat” is leaner, more uniform in shape, and what you typically see sliced for sandwiches. The “point,” on the other hand, is thicker and has more fat marbled throughout, which makes it incredibly flavorful and moist.
For this oven-roasted recipe, I recommend using a whole packer brisket if you can find one. The fat from the point melts down during cooking, continuously basting the leaner flat. This self-basting action is a key secret to achieving a moist and tender result. If you can only find a flat, that’s okay too; just be extra careful not to let it dry out.
What to Look for at the Butcher Counter
When you’re at the store, look for a brisket with a thick, white fat cap, about a quarter-inch to a half-inch thick. This fat is not the enemy; it’s a source of flavor and moisture that protects the meat during its long cook time. Also, look for good marbling—the little specks of fat within the muscle itself. More marbling generally means a more tender and juicy final product. Finally, give the brisket a gentle bend. A flexible brisket indicates better muscle quality than one that is stiff.
The Simple Seasoning that Makes Brisket Shine
You might think that a large, tough cut of meat needs a complex blend of spices to taste good. However, when it comes to a ridiculously tender beef brisket, simplicity is king. A great piece of beef has so much natural flavor, and our goal is just to support it, not overpower it.
Why a Simple Rub is Best
The classic Texas-style brisket rub consists of just two ingredients: coarse black pepper and kosher salt. That’s it. This simple combination creates a magnificent “bark,” or crust, on the outside of the brisket that is savory and slightly crunchy. It perfectly complements the rich, beefy flavor of the meat inside.
While you can certainly add other seasonings like garlic powder, onion powder, or paprika, I urge you to try the simple salt-and-pepper method first. It allows the quality of the beef and the magic of the low-and-slow cooking process to take center stage. You can always experiment with other flavors on your next attempt.
Applying the Rub for Maximum Flavor
Before you apply the rub, you might want to trim the fat cap slightly if it’s thicker than half an inch, leaving a uniform quarter-inch layer. Some people use a “binder” like mustard or a little oil to help the rub stick, but I find it’s often unnecessary. The moisture on the surface of the brisket is usually enough.
Generously coat the entire brisket—top, bottom, and sides—with your salt and pepper mixture. Don’t be shy here; it’s a big piece of meat that can handle a lot of seasoning. Once coated, let the brisket sit for at least an hour at room temperature, or even better, overnight in the refrigerator. This allows the salt to penetrate the meat, a process called dry-brining, which helps it retain moisture during cooking.
How to Make Brisket Tender: The Low and Slow Method
Here is the most important part of the puzzle. The question everyone asks is how to make brisket tender. The answer is simple: cook it at a low temperature for a long time. There are no shortcuts to this process. Brisket is a tough cut of meat, full of connective tissue that needs time to break down.
The Magic of Low Temperature Cooking
Cooking brisket quickly at a high temperature will only result in a tough, chewy meal. We want to cook it low and slow, ideally around 250-275°F (120-135°C). This gentle heat allows the tough collagen in the meat to slowly melt into gelatin. This transformation is what turns a tough cut into the meltingly tender brisket you’re craving.
This process takes time—be prepared for your brisket to be in the oven for many hours. A good rule of thumb is about 60-90 minutes per pound, but every piece of meat is different. The key is to cook to temperature and feel, not to time.
Wrapping the Brisket: The “Texas Crutch”
About halfway through the cooking process, when the internal temperature reaches around 165°F (74°C), the brisket will often hit a “stall.” This is when moisture evaporating from the surface cools the meat, and the temperature stops rising for a frustratingly long time. To push through the stall and keep the meat moist, we wrap it tightly in foil or butcher paper. This is known as the “Texas Crutch.”
Wrapping the brisket traps steam, which speeds up the cooking and braises the meat, making it exceptionally tender. I prefer using foil for this oven recipe because it creates a tighter seal, holding in more moisture.
Finishing and Slicing Your Ridiculously Tender Beef Brisket
You’ve been patient, your house smells amazing, and the brisket has finally reached the target temperature. You might be tempted to slice into it right away, but the final steps are just as important as the first ones. Rushing now could undo all your hard work.
The Importance of a Good Rest
Once your brisket reaches an internal temperature of around 203°F (95°C), it’s done. At this point, the meat probe should slide in and out with very little resistance, like poking into a jar of peanut butter. Now, you must let it rest. This is non-negotiable.
Remove the wrapped brisket from the oven and let it rest on a cutting board for at least one hour, or even up to two. This allows the muscle fibers to relax and reabsorb all those delicious juices. If you slice it too soon, the juices will run out onto the cutting board, leaving you with dry meat. A proper rest is the final secret to a ridiculously tender beef brisket.
Slicing Against the Grain
After the rest, it’s finally time to slice. Look closely at the brisket to see which way the muscle fibers are running. You want to slice directly across those fibers, or “against the grain.” This shortens the muscle fibers, making each bite much more tender and easier to chew.
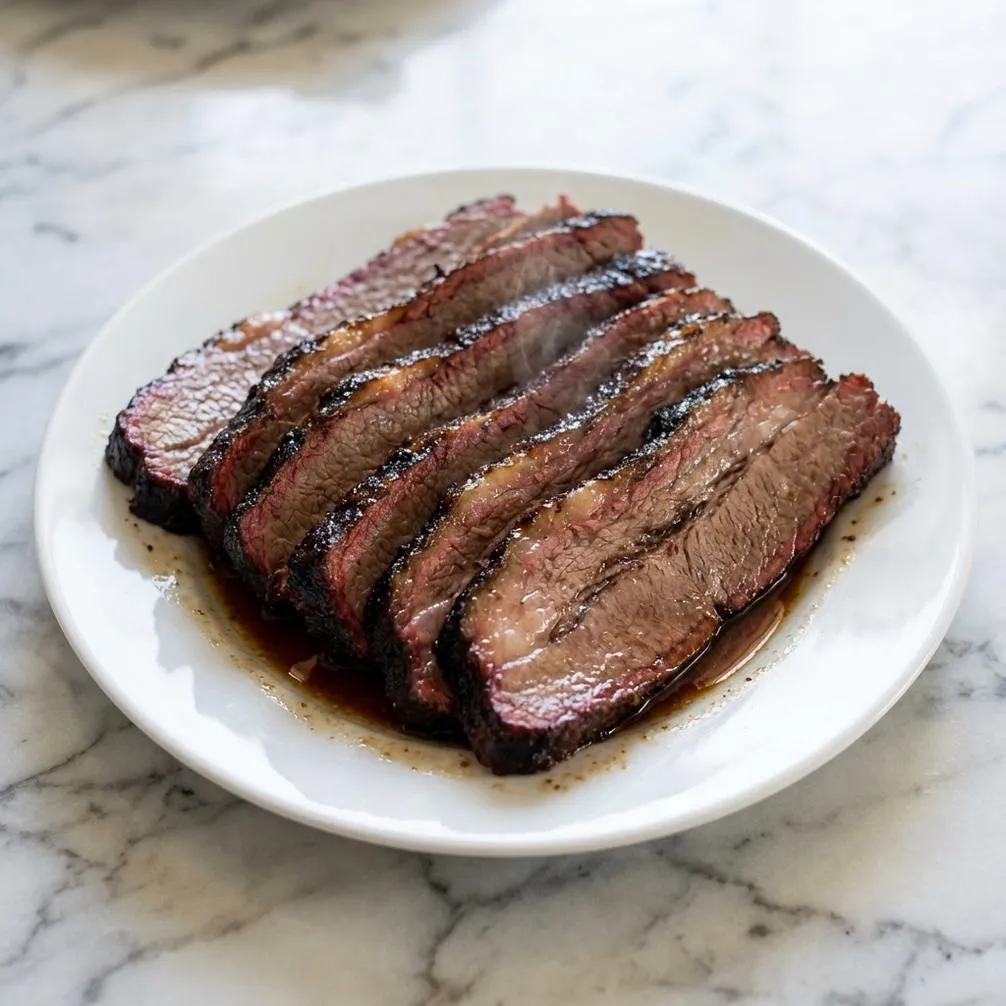
If you have a whole packer brisket, remember that the grain of the flat and the point run in different directions. It’s often easiest to separate the two muscles first, then slice each one against its own grain. Aim for slices about the thickness of a pencil. Now, you are ready to serve your perfectly cooked, juicy, and ridiculously tender beef brisket.
Ridiculously Tender Beef Brisket Recipe
This recipe is the culmination of years of testing to find the simplest path to a perfect brisket. Follow these steps, and you’ll be rewarded with a meal your family will love.
Secret to the best Ridiculously Tender Beef Brisket (3 Tips)
Ingredients
- 1 (4-5 lb) beef brisket, packer cut Look for one with a good fat cap, about 1/4-inch thick.
- For the Dry Rub:
- ½ cup packed brown sugar
- 2 tbsp smoked paprika
- 2 tbsp coarse kosher salt
- 2 tbsp coarsely ground black pepper
- 2 tbsp garlic powder
- 2 tbsp onion powder
- 1 tbsp chili powder
- 1 tsp cayenne pepper optional, for a little heat
- For the Braising Liquid:
- 1 cup beef broth
- 2 tbsp Worcestershire sauce
- 1 tbsp liquid smoke Do not skip for an authentic smoky flavor.
Instructions
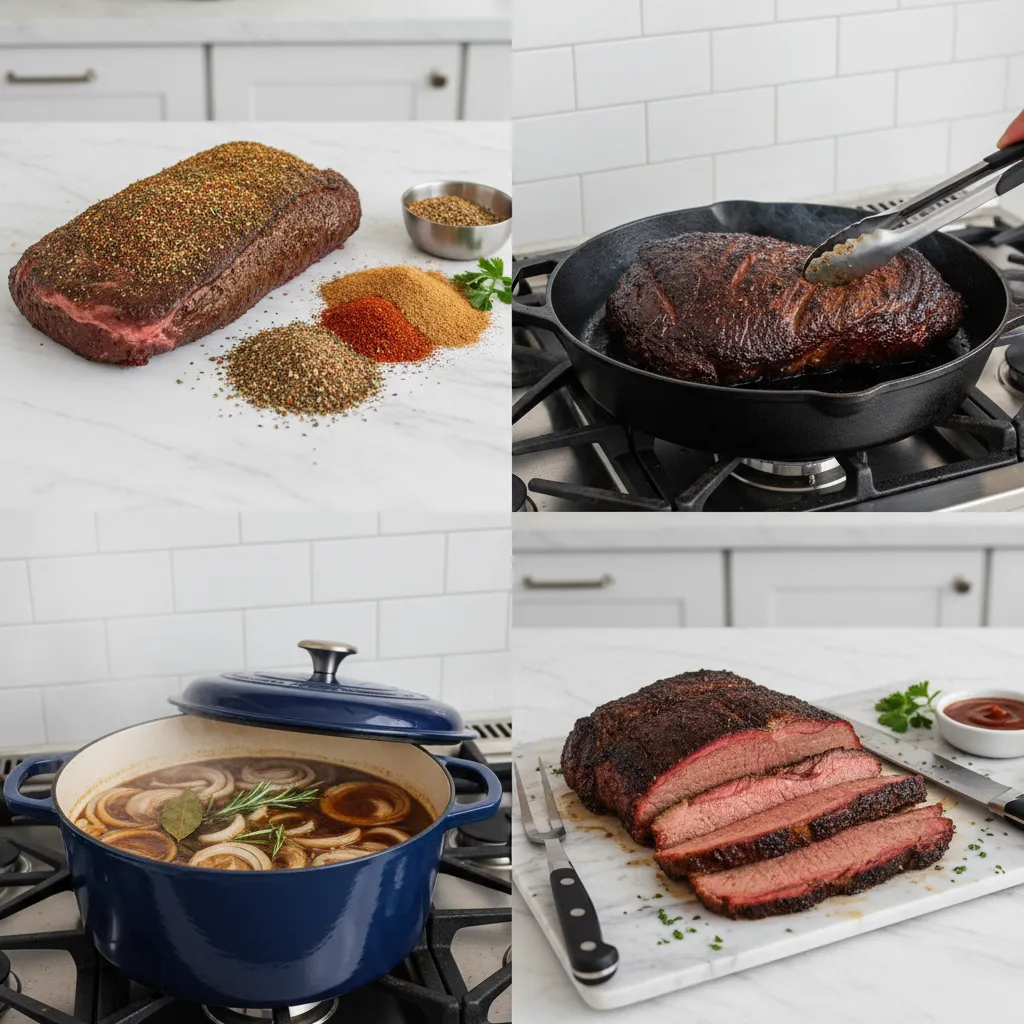
Tip #1: The Rub and The Rest (Before Cooking)
In a medium bowl, combine all the dry rub ingredients: brown sugar, smoked paprika, salt, pepper, garlic powder, onion powder, chili powder, and cayenne (if using). Mix well until fully combined.- Pat the brisket completely dry with paper towels. Trim the fat cap down to a 1/4-inch thickness. This layer of fat is essential for keeping the meat moist as it cooks. Generously coat the entire brisket with the dry rub, pressing it firmly into the meat on all sides.
- For the best flavor, wrap the seasoned brisket tightly in plastic wrap and refrigerate for at least 4 hours, or ideally overnight. This allows the spices to deeply penetrate the meat.
Tip #2: Low and Slow Cooking
Preheat your oven to 275°F (135°C). Remove the brisket from the refrigerator and let it sit at room temperature for 30-60 minutes.- In a small bowl, whisk together the braising liquid ingredients: beef broth, Worcestershire sauce, and liquid smoke. Place the brisket, fat-side up, on a rack inside a large roasting pan. Pour the braising liquid into the bottom of the pan, around the brisket (not over it).
- Cover the roasting pan very tightly with a double layer of heavy-duty aluminum foil, sealing the edges to trap all the steam. Place in the preheated oven and cook for approximately 1.5 hours per pound (e.g., a 4 lb brisket will take about 6 hours). Cook until the internal temperature reaches around 200-203°F (93-95°C) and a fork slides into the thickest part with almost no resistance.
Tip #3: The Rest is The Best (After Cooking)
Once the brisket is probe-tender, remove the entire pan from the oven. DO NOT remove the foil. Let the brisket rest, still tightly covered, on your countertop for a minimum of 1 hour, and up to 2 hours. This is the most crucial step for a juicy result, as it allows the muscle fibers to relax and reabsorb all the flavorful juices.- After resting, transfer the brisket to a large cutting board. Using a sharp carving knife, slice the brisket against the grain into 1/4 to 1/2-inch thick slices. Serve immediately, spooning some of the delicious pan juices over the slices.
Notes
The 3 Secrets Summarized:
1. The Pre-Cook Rest: Letting the brisket rest with the dry rub on for several hours (or overnight) builds a deep, foundational flavor that you can’t get otherwise. 2. Low & Slow, Tightly Covered: Cooking at a low temperature (275°F) for a long time breaks down tough connective tissue into tender gelatin. Keeping it tightly covered creates a moist, steamy environment, preventing it from drying out. 3. The Post-Cook Rest: This non-negotiable step is the key to juiciness. Slicing into a brisket too early will cause all the juices to run out onto your cutting board. Patience is rewarded!Storage:
Store leftover brisket with some of its juices in an airtight container in the refrigerator for up to 4 days. To reheat, place slices in a pan with a splash of beef broth or pan juices, cover, and warm gently in a 300°F oven until heated through.Frequently Asked Questions About Beef Brisket
What’s the best temperature to cook brisket?
The ideal oven temperature for cooking brisket is between 250°F and 275°F (120-135°C). This low temperature is critical for breaking down the tough connective tissues slowly, which results in a tender and juicy final product without drying out the meat.
Should I wrap my brisket in foil or butcher paper?
For an oven-cooked brisket, I recommend wrapping it in aluminum foil. Foil creates a very tight seal that traps steam, which helps push the brisket through the cooking stall and retains a great deal of moisture. Butcher paper is more breathable and is preferred for smokers to preserve a crispy bark, but in the oven, foil gives a more consistent, moist result.
How do I know when my brisket is done?
Don’t cook to a specific time; cook to a specific internal temperature and feel. Your brisket is ready when a meat thermometer inserted into the thickest part reads around 203°F (95°C). More importantly, the probe should slide in and out with almost no resistance. This “probe tender” feeling is the true sign of a perfectly cooked brisket.
Can I make this brisket ahead of time?
Yes, brisket is a great dish to make ahead. You can cook it completely, let it rest for an hour, and then refrigerate it whole and unsliced. To reheat, wrap it in foil and place it in a 275°F (135°C) oven until it’s warmed through. Slicing just before serving helps keep it from drying out.
A Meal Worth the Wait
Making a ridiculously tender beef brisket is a labor of love, but it’s one that pays off in a big way. The process teaches patience and rewards you with a dish that is deeply satisfying to both make and eat. Don’t be afraid of the long cooking time; most of it is completely hands-off. So, set aside a day, trust the process, and get ready to enjoy one of the most delicious meals you’ve ever made.