My grandmother’s pantry was a treasure trove of colorful jars, each holding a different taste of the season. One day, tucked behind the pickled beets and dill beans, I found a jar of glowing, white cloves floating in a clear liquid. It was pickled garlic, and it was a revelation. The sharp, pungent bite of raw garlic was transformed into something mellow, tangy, and irresistibly crunchy. It was the perfect snack and a secret ingredient she’d add to everything from salads to roasts.
That memory inspired me to perfect my own simple method for making pickled garlic at home. Many people feel intimidated by pickling, but this recipe removes all the fuss. You get all the zesty flavor without a long, complicated process. This quick pickled garlic is wonderful on its own, but it also joins the ranks of my other favorite flavorful side dishes that can brighten any meal. It’s a simple way to keep the wonderful taste of garlic ready to go in your fridge.
Why You’ll Love This Pickled Garlic
Making pickled garlic at home is a game-changer for any garlic lover. If you find raw garlic a bit too aggressive, you will appreciate how the pickling process mellows its flavor into something much more subtle and complex. Furthermore, the convenience of having ready-to-use, flavor-infused garlic cloves on hand is a huge time-saver in the kitchen.
A Punch of Flavor Without the Bite
The primary reason people fall in love with pickled garlic is its transformed taste profile. The hot, sharp notes of fresh garlic soften considerably in the vinegar brine. What remains is a tangy, slightly sweet, and savory flavor with a satisfyingly crisp texture. Consequently, you can eat a whole clove without the overpowering heat you’d get from a raw one. This makes it a fantastic snack straight from the jar or a more balanced ingredient in your favorite dishes. The brine not only preserves the garlic but also infuses it with a zesty character that is truly unique.
An Incredibly Versatile Ingredient
Beyond snacking, pickled garlic is a kitchen workhorse. You can slice it over pizzas, chop it into salads, or toss it with roasted vegetables for an instant flavor boost. It’s also a classic addition to an antipasto platter or charcuterie board, pairing beautifully with cheeses, cured meats, and olives. You can even use the flavorful brine itself as a base for salad dressings or marinades. Once you have a jar in your fridge, you will find countless ways to add its zesty punch to your everyday meals.
What You Need for Homemade Pickled Garlic
One of the best parts about this recipe is its simplicity. You do not need any special canning equipment or hard-to-find ingredients. In fact, you probably have almost everything you need in your pantry already. The key is to start with good-quality ingredients, as their flavors will be the star of the show.
Choosing the Right Garlic
For the best results, start with fresh, firm garlic heads. Look for bulbs that are heavy for their size with tight, unbroken skins. Avoid any garlic that feels soft, has dark spots, or is starting to sprout, as these are signs of age and will result in a less-than-ideal texture and flavor. While pre-peeled garlic is a tempting shortcut, I find that peeling it yourself yields a much fresher and crunchier final product. Peeling might take a few extra minutes, but the superior quality of your pickled garlic is worth the effort.
The Perfect Pickling Brine
The brine is the magical solution that transforms the garlic. A basic pickling brine consists of just four simple ingredients: vinegar, water, salt, and a touch of sugar. I prefer using distilled white vinegar for its clean, neutral flavor, which allows the garlic to shine. However, apple cider vinegar can also work if you prefer a slightly fruitier undertone. Kosher or pickling salt is important because it dissolves clearly and does not contain the anti-caking agents found in table salt, which can make your brine cloudy. The sugar balances the acidity of the vinegar, but you can adjust the amount based on your preference for a sweeter or more tart pickle.
The Simple Pickled Garlic Recipe Steps
This quick pickled garlic recipe is designed for speed and simplicity, making it perfect for beginners. The whole process, from peeling the garlic to having a jar ready for the fridge, takes very little active time. This is a refrigerator pickle recipe, meaning it is not shelf-stable and must be stored in the cold. But because it’s so quick to make, you can easily whip up a new batch whenever you run low.
Preparing the Garlic Cloves
First, you need to separate and peel the garlic cloves. To make peeling easier, you can start by gently crushing the head of garlic with the palm of your hand to loosen the cloves. A popular trick is to place the cloves in a jar with a tight-fitting lid and shake it vigorously for about 20-30 seconds. This action helps to break the skins, making them much easier to remove. Another method is to blanch the cloves in boiling water for about 30 seconds and then transfer them to an ice bath. The skins should slip right off. For this recipe, you will need about one and a half to two cups of peeled cloves.
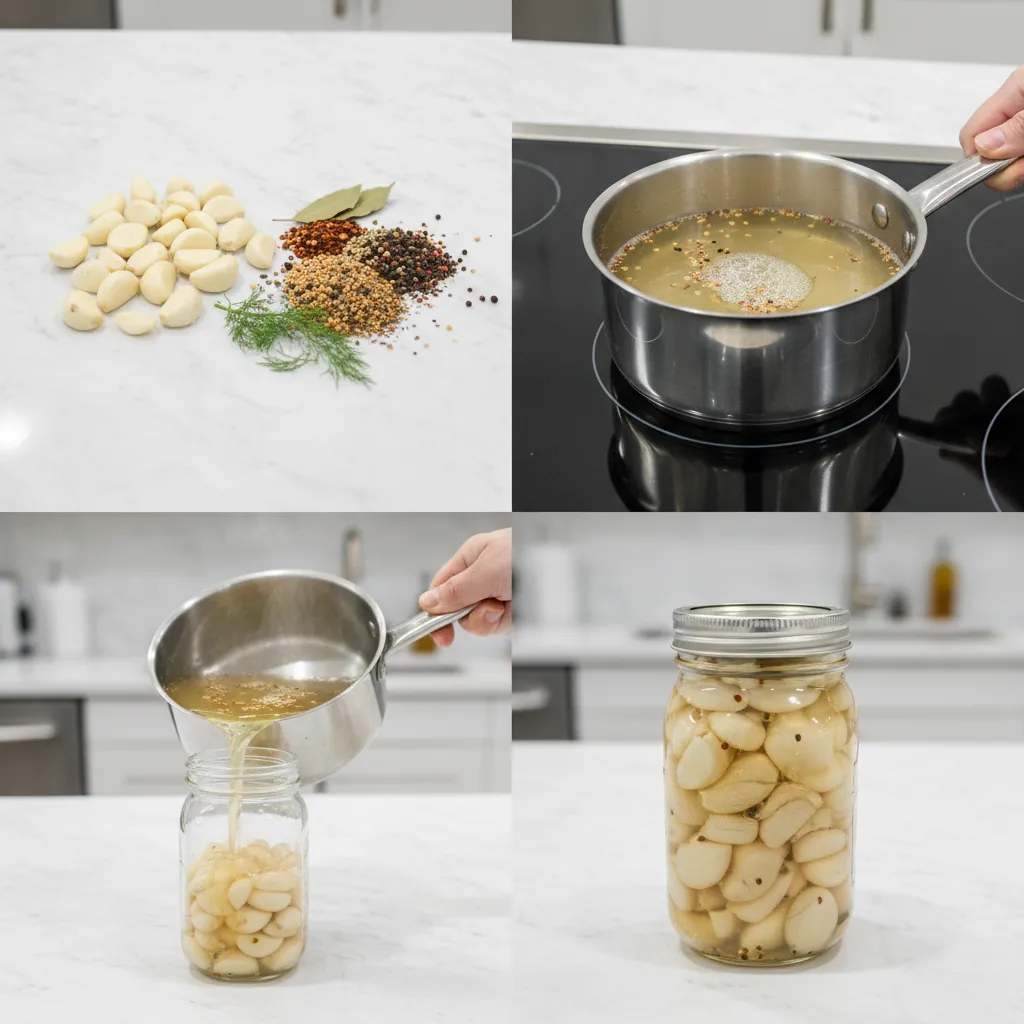
Creating the Brine and Pickling
Next, you will create the brine. In a small saucepan, combine the vinegar, water, salt, and sugar. Bring the mixture to a boil over medium-high heat, stirring until the salt and sugar have completely dissolved. While the brine is heating, pack your peeled garlic cloves into a clean pint-sized glass jar. Once the brine comes to a rolling boil, carefully pour it over the garlic cloves, making sure they are fully submerged. Seal the jar with a lid and let it cool to room temperature on the counter before transferring it to the refrigerator.
Flavor Variations for Your Pickled Garlic
While this basic pickled garlic recipe is delicious on its own, it also serves as a wonderful canvas for other flavors. Customizing your jar of pickled garlic is easy and allows you to match it to your specific tastes or the dishes you plan to use it in. Feel free to add your favorite herbs and spices to the jar before pouring in the hot brine.
Adding Herbs and Spices
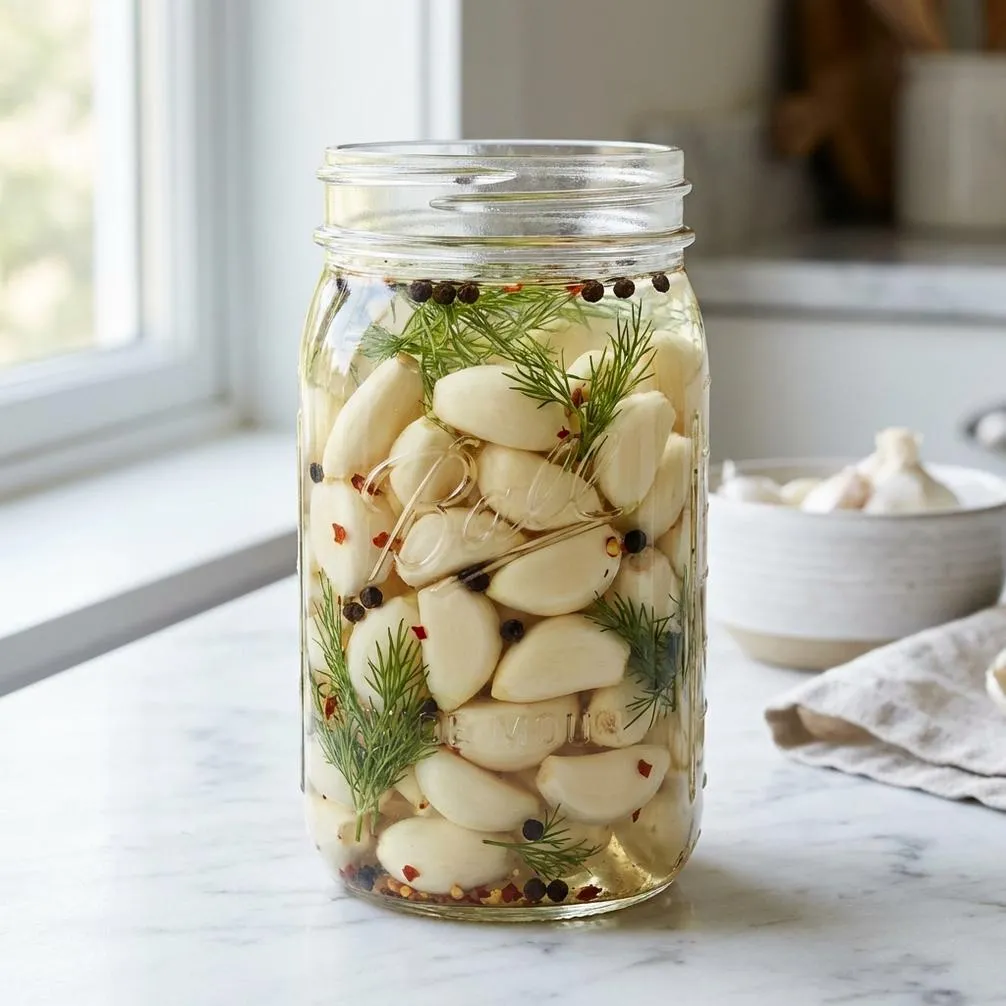
Introducing herbs and spices can add another layer of complexity to your pickles. For a classic dill flavor, add a few sprigs of fresh dill and a teaspoon of mustard seeds to the jar. For a touch of warmth, consider a cinnamon stick and a few whole cloves. Peppercorns are a classic addition that provides a gentle heat. Other great options include fresh rosemary, thyme, or bay leaves. A few strips of lemon or orange peel can also add a bright, citrusy note that complements the garlic beautifully.
Sweet vs. Spicy Pickles
You can easily adjust the brine to create different flavor profiles. If you prefer a sweeter pickle, simply increase the amount of sugar in the brine. For a spicy kick, add a teaspoon of red pepper flakes or a few whole dried chilis to the jar along with the garlic. You could even add a sliced jalapeño or habanero for some serious heat. The spice level will intensify as the garlic sits in the brine, so start with a smaller amount if you are unsure. This adaptability makes it simple to create the perfect jar of pickled garlic for your palate.
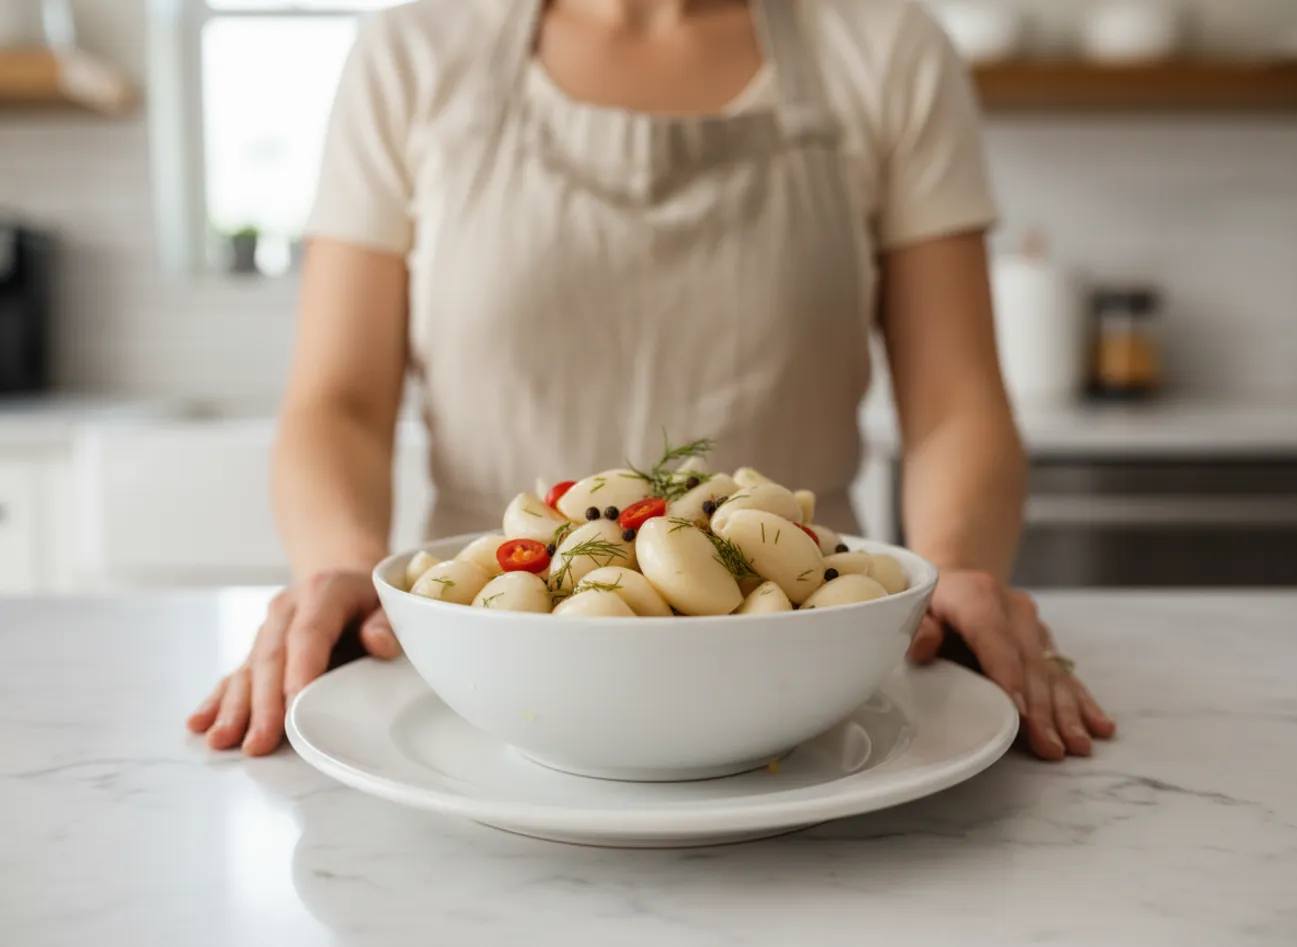
Quick & Easy Pickled Garlic
This recipe gives you tangy, crunchy garlic cloves that are perfect for snacking or adding to your favorite meals. In just a few minutes, you can have a delicious jar ready to chill in the fridge.
Easy recipe for 5-minute Pickled Garlic
Ingredients
- 1 cup fresh garlic cloves peeled
- ¾ cup distilled white vinegar 5% acidity
- ¼ cup water
- 1 tbsp granulated sugar
- 1 tsp kosher salt
- ½ tsp black peppercorns
- ¼ tsp red pepper flakes optional, for a hint of spice
Instructions
- Prepare the jar: Place the peeled garlic cloves, black peppercorns, and optional red pepper flakes into a clean, sterile 8-ounce glass jar. Pack them in snugly but do not crush them.
- Make the brine: In a small saucepan, combine the white vinegar, water, granulated sugar, and kosher salt. Bring the mixture to a rolling boil over medium-high heat, stirring until the sugar and salt have completely dissolved. This should only take about 2-3 minutes.
- Combine and fill: Immediately and carefully pour the hot brine over the garlic cloves in the jar. Ensure the garlic is fully submerged, leaving about a 1/2-inch of headspace at the top.
- Seal and cool: Gently tap the jar on the counter to release any trapped air bubbles. Securely screw on the lid. Let the jar cool to room temperature on the countertop before transferring it to the refrigerator.
Notes
Frequently Asked Questions About Pickled Garlic
Is pickled garlic as healthy as raw garlic?
Pickled garlic retains many of the beneficial properties of raw garlic, though the heat from the brine may slightly reduce the levels of allicin, the compound responsible for many of its health benefits. However, pickled garlic is often easier for people to digest and allows you to consume more of it without the intense pungency.
Why did my pickled garlic turn blue?
Occasionally, garlic may turn a blue or greenish color during the pickling process. This is a harmless and natural chemical reaction that occurs when enzymes and sulfur compounds in the garlic react with trace minerals in the water or certain metals, like copper. The garlic is still perfectly safe to eat and the flavor is not affected.
How long does homemade pickled garlic last?
Because this is a refrigerator pickle and not canned for shelf stability, it must be stored in the refrigerator. When kept in a sealed jar in the fridge, your homemade pickled garlic will stay fresh and delicious for up to 3 months.
What do you eat pickled garlic with?
The possibilities are nearly endless! You can chop it and add it to salads, pasta sauces, or stir-fries. It is also fantastic on a cheese board, minced into butter for garlic bread, dropped into a martini, or simply eaten straight from the jar as a zesty snack.
A Pantry Staple You’ll Make Again and Again
Once you see how simple it is to make this quick pickled garlic, you’ll want to keep a jar in your fridge at all times. It’s a small effort for a huge flavor reward that can brighten up countless meals. This recipe proves that you don’t need a lot of time or fancy techniques to create something truly delicious and special in your own kitchen.