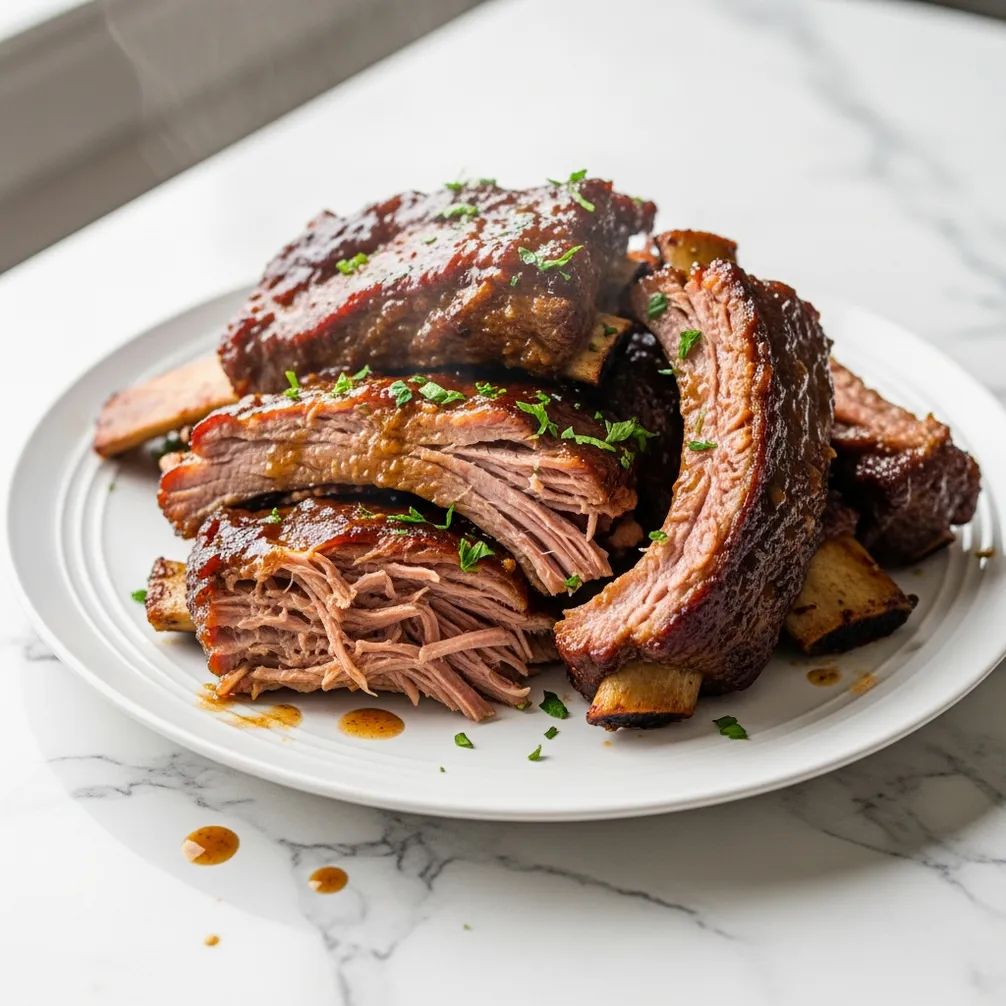
The smell of a slowly braising brisket always brings me back to my grandmother’s kitchen. I can almost hear the gentle simmer and the clatter of plates as the family gathered. She would tell me that the secret to a memorable holiday meal wasn’t a complicated set of steps, but a simple recipe made with patience and love. This Passover Brisket Recipe for Your Seder Table is my tribute to her—a dish that has become the centerpiece of my own family’s celebration. It’s a recipe built on tradition, one that fills the home with an aroma of anticipation and comfort.
This is more than just a brisket; it’s the heart of the holiday meal. I’ve refined this recipe over the years to be nearly foolproof, producing a tender, pull-apart brisket every single time. It’s the perfect Passover Brisket Recipe for Your Seder Table because it allows you to prepare most of it ahead, freeing you up to be with your loved ones. After the main course, you can bring out some of our family’s favorite desserts to complete the feast. Let’s make this year’s Seder one to remember with a truly wonderful main course.
Why This Passover Brisket Recipe Works So Well
The beauty of this Passover Brisket Recipe for Your Seder Table lies in its straightforward approach. You don’t need special equipment or advanced culinary skills. In fact, the oven does most of the work for you. The result is a deeply flavorful, incredibly tender piece of meat that seems far more complex than it actually is. It’s a method that has been passed down through generations for a very good reason: it delivers consistent, delicious results.
The Magic of Low and Slow Cooking
The key to a tender brisket is time. Cooking the meat at a low temperature for several hours breaks down the tough connective tissues, turning them into rich, gelatinous goodness. This process, known as braising, involves searing the meat first to develop a flavorful crust, then simmering it in a savory liquid. Our four-hour cooking time is the sweet spot for a 4-5 pound brisket. This duration is just right to achieve that perfect fork-tender texture without the meat becoming dry or stringy. Rushing this process is the most common mistake, so I always advise cooks to trust the clock and let the oven work its magic.
Simple Ingredients, Big Flavor
You might be surprised to see how few ingredients are needed for this dish. We rely on pantry staples like onions, carrots, garlic, and a good quality beef broth to build a flavorful foundation. The onions caramelize during the long cook time, adding a deep, sweet flavor to the gravy. The carrots lend a subtle earthiness, while the garlic provides a pungent counterpoint. We don’t add a dozen different spices; instead, we let the natural flavor of the beef shine, supported by these classic aromatic vegetables. This simple approach proves that you don’t need a complicated list of ingredients to create a show-stopping main course.
Choosing the Perfect Brisket for Your Meal
Starting with the right cut of meat is crucial for the success of your Passover Brisket Recipe for Your Seder Table. Walking up to the butcher counter can be intimidating if you’re not sure what to ask for. However, a little knowledge goes a long way. Understanding the different parts of a brisket and what to look for will give you the confidence to select the perfect piece for your holiday feast.
First Cut vs. Second Cut: What’s the Difference?
A whole brisket is composed of two main muscles: the first cut (or flat) and the second cut (or point). The first cut is leaner, with a more uniform, rectangular shape. It’s easier to slice evenly, making it a popular choice for Seder tables. The second cut is thicker, with more marbling and fat, which translates to more flavor and a richer texture. For this recipe, I prefer the first cut because it holds its shape well and slices beautifully for presentation. If you value flavor over a perfectly uniform slice, the second cut is also an excellent option. Just ask your butcher for a “first cut brisket” of about 4-5 pounds.
How to Select a Quality Brisket
When you are at the store, look for a brisket with a good, even fat cap on one side—about a quarter-inch thick is ideal. This fat will melt during cooking, basting the meat and keeping it moist and flavorful. The meat itself should have a deep, rich red color. Avoid any pieces that look pale or have dry spots. A good piece of brisket will also have some flexibility to it. If you can pick it up (in its packaging), it should have a slight bend. A stiff brisket often means the muscle was overworked, which can result in a tougher final product.
A Traditional Seder Brisket Recipe with a Twist
While this is a very traditional Seder brisket recipe, I’ve added a couple of small touches that make a big difference. Many classic recipes call for just onions and broth, but the addition of carrots and a little tomato paste brings a new dimension to the gravy. It adds a subtle sweetness and a beautiful, rich color that makes the final dish even more appealing. This is how my grandmother made it, and it has always been a family favorite.
The Secret to a Rich, Savory Sauce
The sauce, or gravy, is just as important as the meat itself. Ours is built right in the pan as the brisket cooks. After searing the meat, we sauté the onions, carrots, and garlic in the rendered beef fat. This step builds the first layer of flavor. Then, we add a touch of tomato paste and cook it for a minute to deepen its taste. The beef broth and a sprig of thyme go in next, creating the braising liquid that will slowly cook the brisket. As it simmers in the oven, the liquid reduces slightly, concentrating all those wonderful flavors into a sauce that is perfect for spooning over the sliced brisket and potato kugel.
Understanding the Brisket Cut of Meat
Brisket comes from the lower chest of the cow. It is a hardworking muscle, which is why it contains a lot of tough connective tissue. This is exactly why it’s the ideal candidate for low-and-slow cooking methods like braising or smoking. The history and different preparations of brisket are fascinating, as it’s a beloved cut in many cultures around the world, from Texas barbecue to Jewish holiday meals. The slow cooking process transforms this tough cut into something truly special and incredibly tender.
Tips for the Best Passover Brisket Every Time
After making this dish for countless holidays, I’ve gathered a few key tips that help produce a perfect result. These small details can make a big difference in the texture and flavor of your final dish. Following these suggestions will help you serve a brisket that is moist, flavorful, and perfectly cooked from end to end. This is how you create a memorable centerpiece for your Seder.
The Importance of Resting Your Meat
This might be the most important tip of all. Once the brisket comes out of the oven, you must let it rest. Do not slice into it right away. Resting allows the juices, which have moved to the surface during cooking, to redistribute throughout the meat. If you slice it too soon, all that flavorful juice will run out onto your cutting board, leaving you with dry brisket. Let the brisket rest, lightly covered with foil, for at least 20-30 minutes before slicing. This single step is critical for a juicy, tender outcome.
Slicing for Maximum Tenderness
How you slice the brisket matters just as much as how you cook it. Brisket has a very clear grain—the muscle fibers all run in the same direction. To get the most tender slices, you must cut against the grain. Look closely at the cooked brisket, and you will see the lines of the muscle fibers. Position your knife perpendicular to these lines and make your slices. Cutting with the grain results in long, chewy muscle fibers, while cutting against it shortens them, making each bite much more tender.
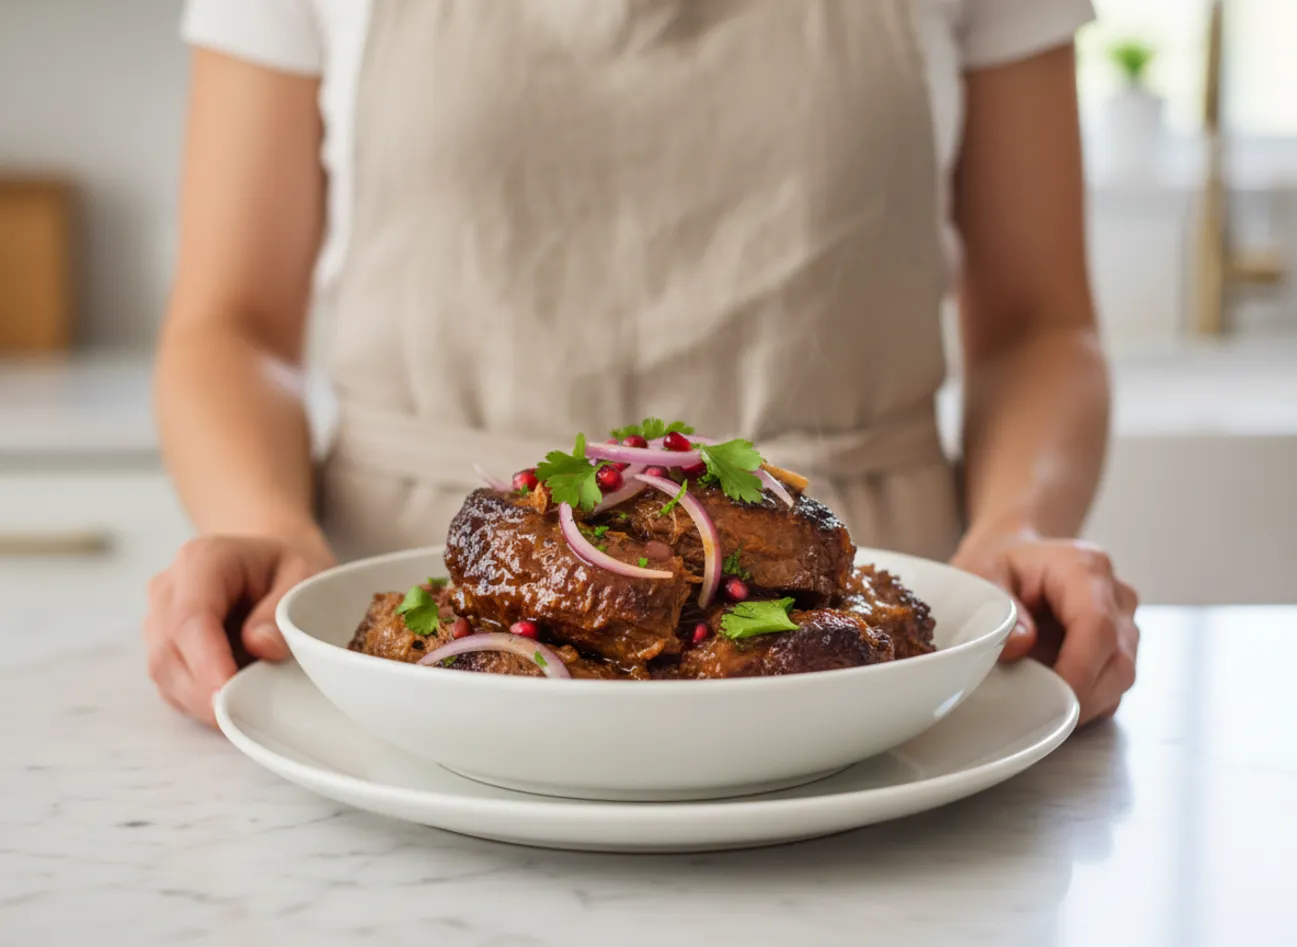
Our Family’s Passover Brisket Recipe
This is the recipe that will fill your home with the warm, comforting aromas of a true holiday celebration. Give it a try, and I am confident it will become a treasured part of your Seder tradition too.
Secret 4-Hour Passover Brisket Recipe for Your Seder Table
Ingredients
- 1 (5-pound) first-cut beef brisket trimmed with about 1/4-inch fat cap left on
- 2 tbsp olive oil
- 1 tbsp Kosher salt plus more to taste
- 1 tbsp freshly ground black pepper
- 1 tbsp paprika
- 3 large yellow onions thinly sliced
- 4 medium carrots peeled and roughly chopped
- 6 cloves garlic minced
- 1 (6 ounce) can tomato paste
- 1.5 cups dry red wine Kosher for Passover, such as Cabernet Sauvignon
- 3 cups beef broth low-sodium, Kosher for Passover
- 2 bay leaves
Instructions
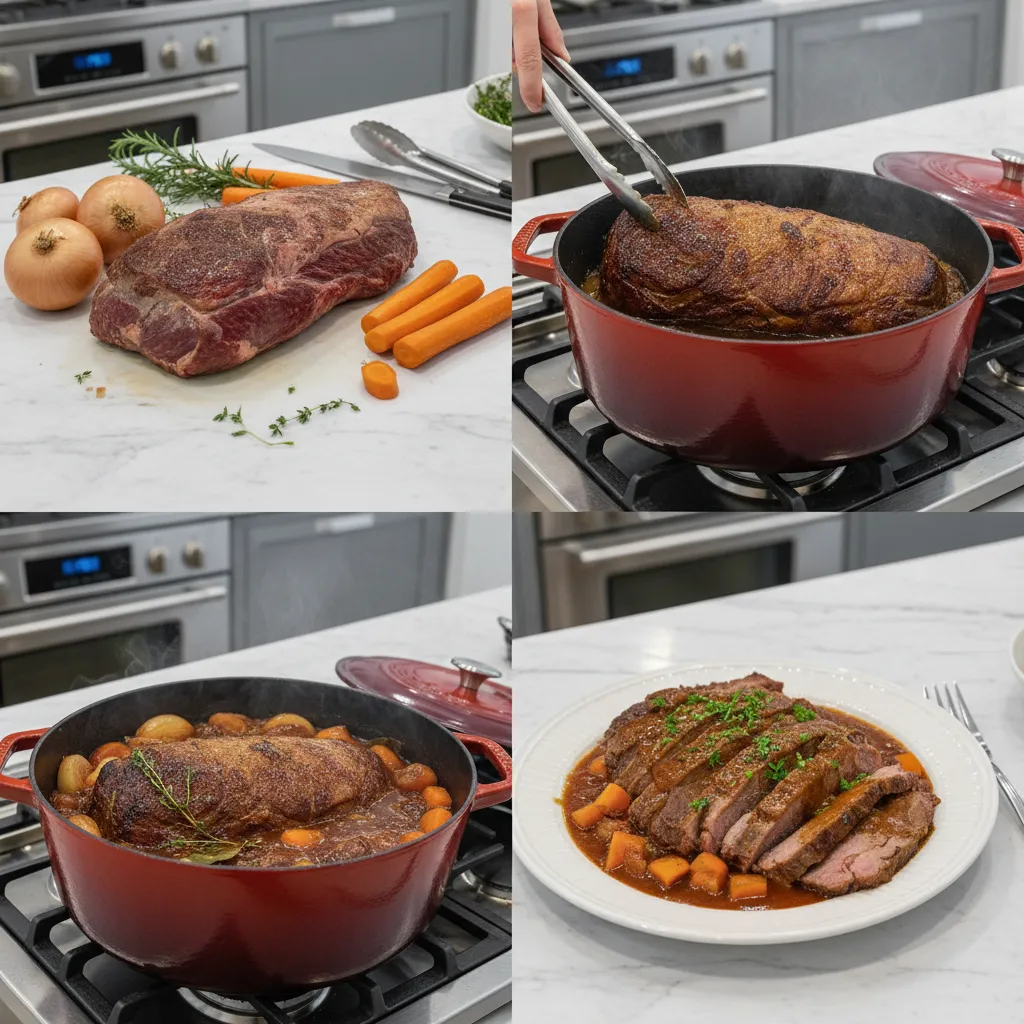
- Preheat your oven to 325°F (165°C). Pat the brisket dry with paper towels. In a small bowl, combine the Kosher salt, black pepper, and paprika. Rub the spice mixture generously over all sides of the brisket.
- Heat the olive oil in a large Dutch oven over medium-high heat. Carefully place the brisket in the pot, fat-side down, and sear for 5-7 minutes per side, until a deep brown crust forms. Use tongs to sear the edges as well. Remove the brisket from the pot and set it aside on a plate.
- Reduce the heat to medium. Add the sliced onions and chopped carrots to the Dutch oven, scraping up any browned bits from the bottom of the pot. Cook, stirring occasionally, for 10-12 minutes, until the onions are soft and deeply caramelized.
- Stir in the minced garlic and tomato paste. Cook for another 2 minutes, stirring constantly, until the garlic is fragrant and the tomato paste has darkened slightly in color.
- Pour in the red wine to deglaze the pot. Bring to a simmer, scraping the bottom of the pot to release any remaining flavorful bits. Let the wine reduce by about half, which should take about 5 minutes.
- Stir in the beef broth and add the bay leaves. Bring the liquid to a simmer. Return the seared brisket to the pot, fat-side up. The liquid should come about halfway up the sides of the brisket. If needed, add a little more broth or water.
- Cover the Dutch oven with its tight-fitting lid and transfer it to the preheated oven. Braise for 3.5 to 4 hours, or until the brisket is fork-tender and a meat thermometer inserted into the thickest part reads about 200°F (93°C). Check halfway through and turn the brisket over if desired.
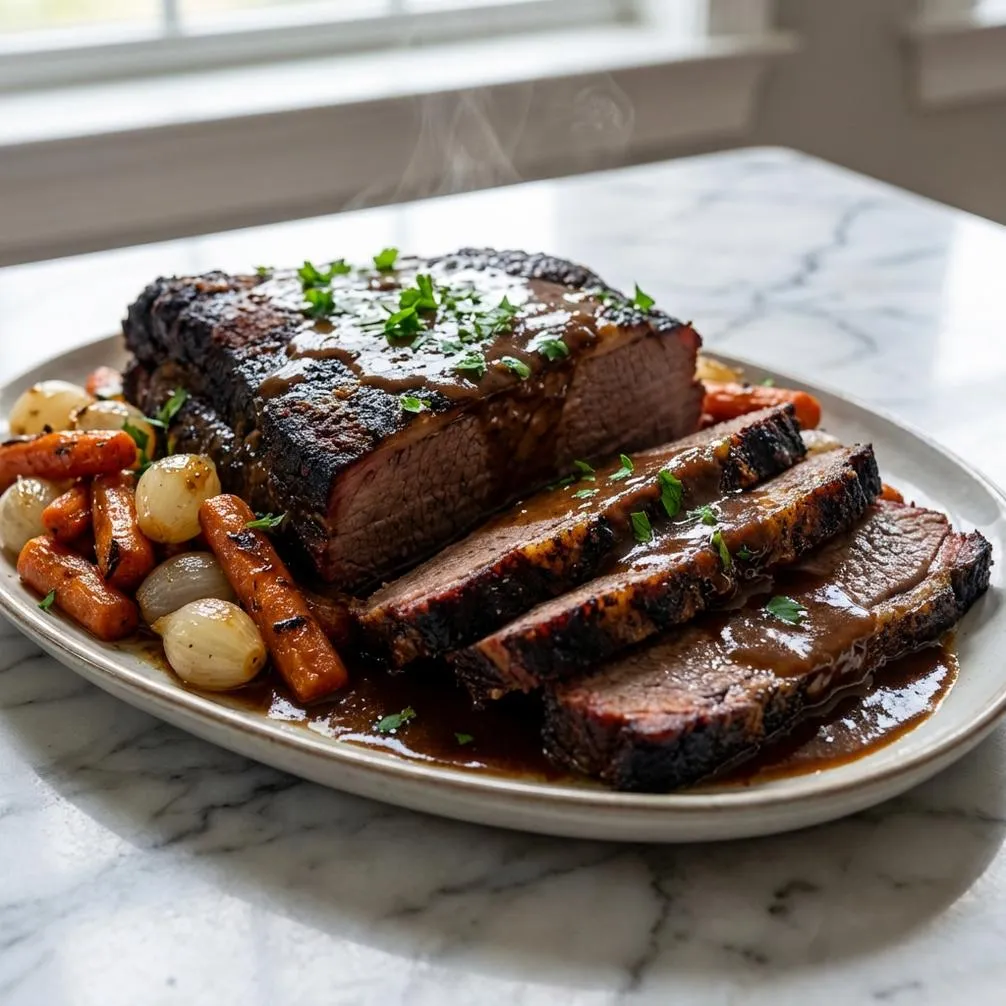
- Remove the pot from the oven. Let the brisket rest in the liquid for at least 30 minutes before slicing. For best results, follow the notes below for chilling overnight. To serve, transfer the brisket to a cutting board and slice thinly against the grain. Serve warm, topped generously with the sauce and vegetables from the pot.
Notes
Frequently Asked Questions
What is the best cut of brisket for Passover?
For a traditional Passover brisket that slices neatly, the “first cut” or “flat cut” is the best choice. It is leaner and has a more uniform shape, which makes for beautiful presentation on the Seder table. The “second cut” or “point cut” has more fat and flavor but is less uniform for slicing.
How do you keep brisket moist?
There are three key steps to keeping brisket moist. First, choose a cut with a good fat cap. Second, cook it low and slow in a braising liquid, which keeps the cooking environment humid. Finally, and most importantly, let the brisket rest for at least 20-30 minutes after cooking before you slice it. This allows the juices to redistribute back into the meat.
Can I make Passover brisket ahead of time?
Absolutely! Brisket is one of those wonderful dishes that often tastes even better the next day. You can cook the brisket completely one or two days ahead. Let it cool in its cooking liquid, then refrigerate the whole thing. The day of the Seder, simply skim any solidified fat from the top, slice the cold brisket (it’s much easier to slice cold), and gently reheat the slices in the gravy until warmed through.
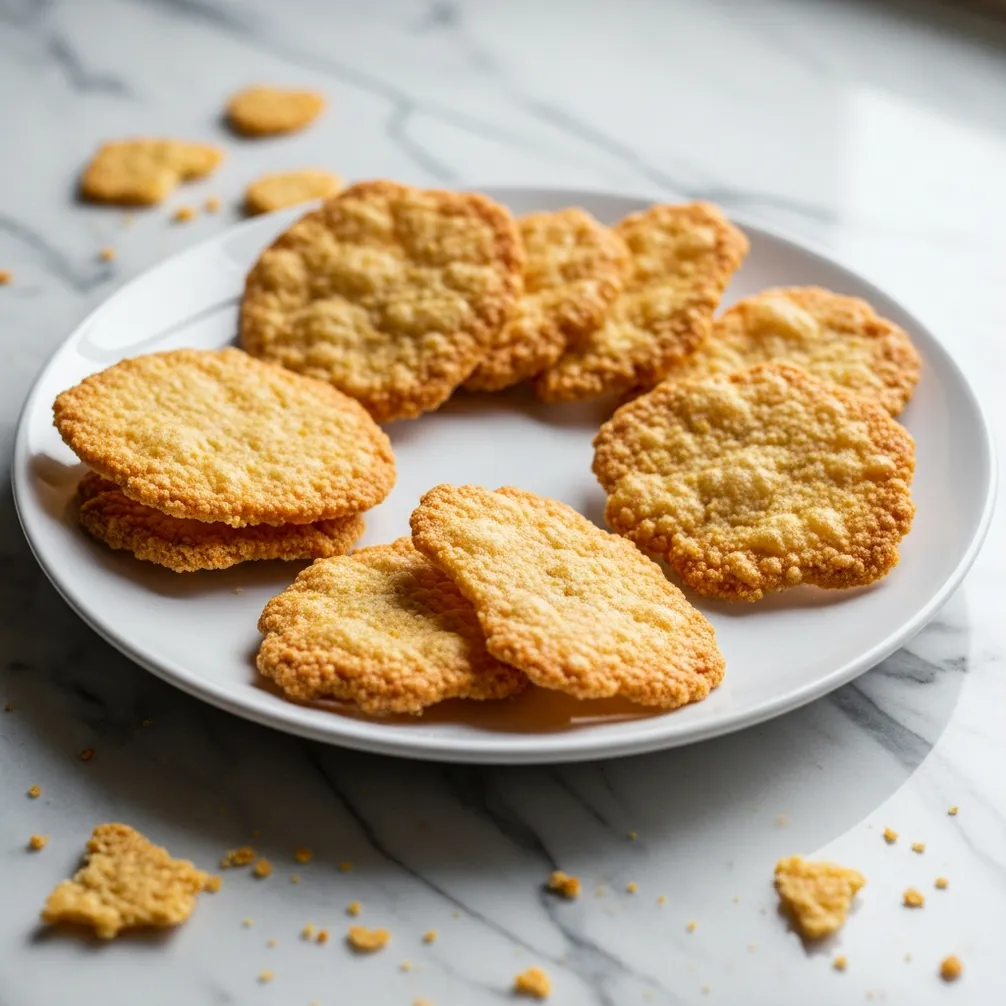
What do you serve with brisket for Passover?
Brisket pairs beautifully with many traditional Passover side dishes. Some classic accompaniments include potato kugel, roasted root vegetables like carrots and parsnips, matzo ball soup, and a simple green salad. The rich gravy from the brisket is perfect for spooning over potatoes or matzo.
A Meal Worth Celebrating
Creating this Passover Brisket Recipe for Your Seder Table is more than just cooking; it’s about making memories. It’s a dish that invites everyone to the table and encourages lingering conversation long after the last bite. I hope this recipe brings as much joy and comfort to your family as it has to mine over the years. Happy Passover