Some of my fondest childhood memories are tied to the smell of baking bread. The warm, yeasty aroma would fill my grandmother’s house, promising something delicious was on its way. She believed that baking wasn’t just about following a recipe; it was about creating moments of warmth and connection. That’s why I’m so excited to share this recipe for Easy Garlic Breadsticks. It captures that same feeling of home and comfort, but it’s simple enough for any busy weeknight.
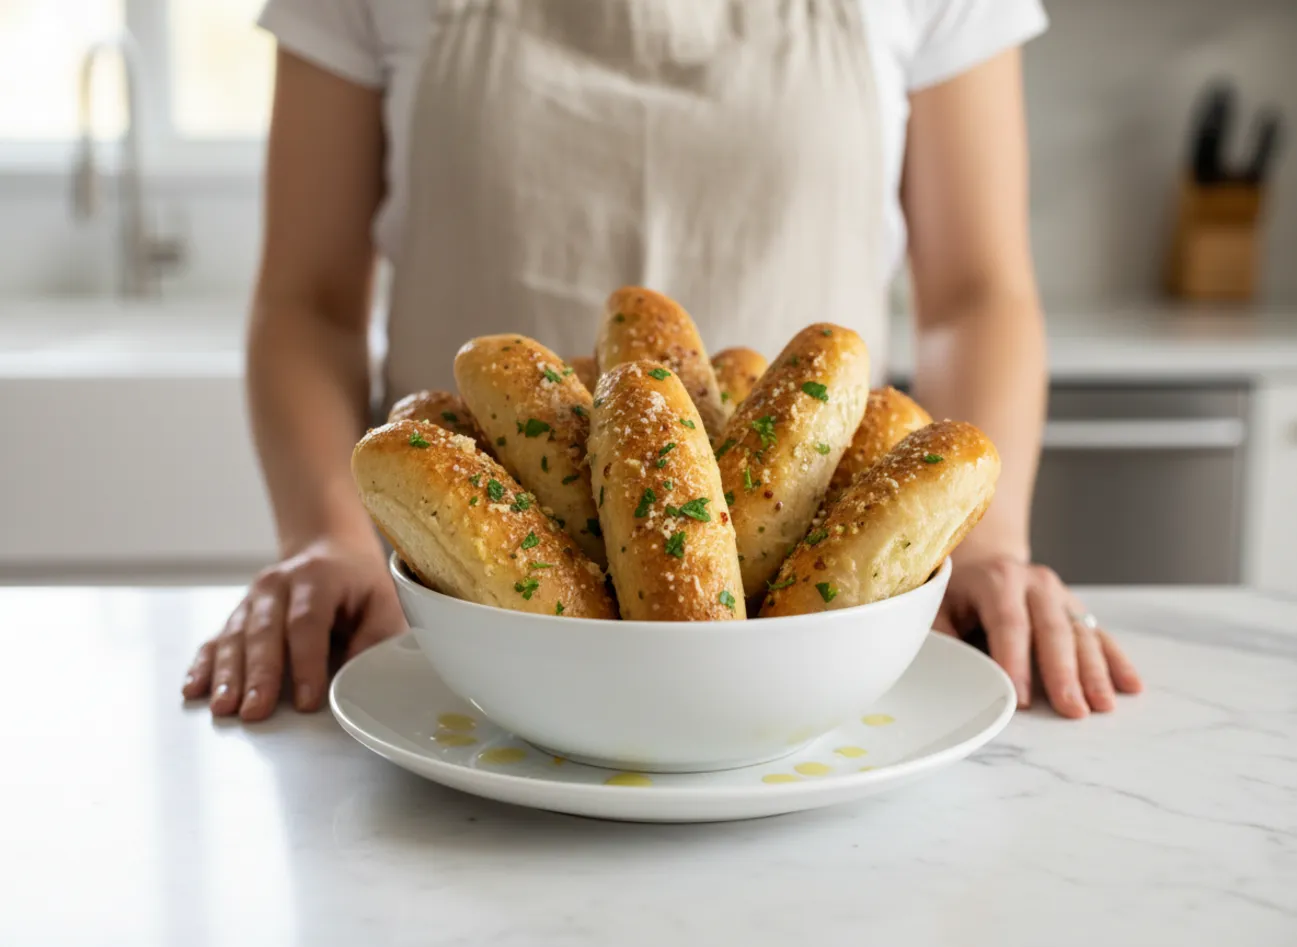
These Easy Garlic Breadsticks are soft, chewy, and coated in a savory garlic butter that is simply irresistible. They are the perfect side for pasta night, a great companion for soup, or just a fantastic snack on their own. We’re going to make these from scratch, but don’t let that intimidate you. This recipe is straightforward and delivers bakery-quality results right from your own oven. Forget the store-bought kind; these homemade Easy Garlic Breadsticks are a game-changer.
Why You’ll Love These Easy Garlic Breadsticks
There are countless reasons to adore this recipe, but it truly comes down to simplicity and flavor. You get the satisfaction of baking with yeast without any complicated steps. Furthermore, the breadsticks come out of the oven incredibly soft and pillowy, with a slightly chewy texture that holds up perfectly to the rich garlic butter topping. They taste like they came from a high-end Italian restaurant, yet you made them in your own kitchen with minimal effort. This recipe for Easy Garlic Breadsticks is a keeper for any occasion.
The Perfect Dough for Fluffy Breadsticks
The foundation of any great breadstick is the dough. This recipe uses a simple combination of all-purpose flour, instant yeast, a touch of sugar to feed the yeast, salt for flavor, and warm water. The dough comes together quickly and requires just one rise. As a result, you can have fresh breadsticks on the table in about an hour and a half. The key is not to over-knead; you want the dough to be soft and slightly tacky. This helps create that light, airy texture we all love.
A Buttery, Garlicky Topping That’s Irresistible
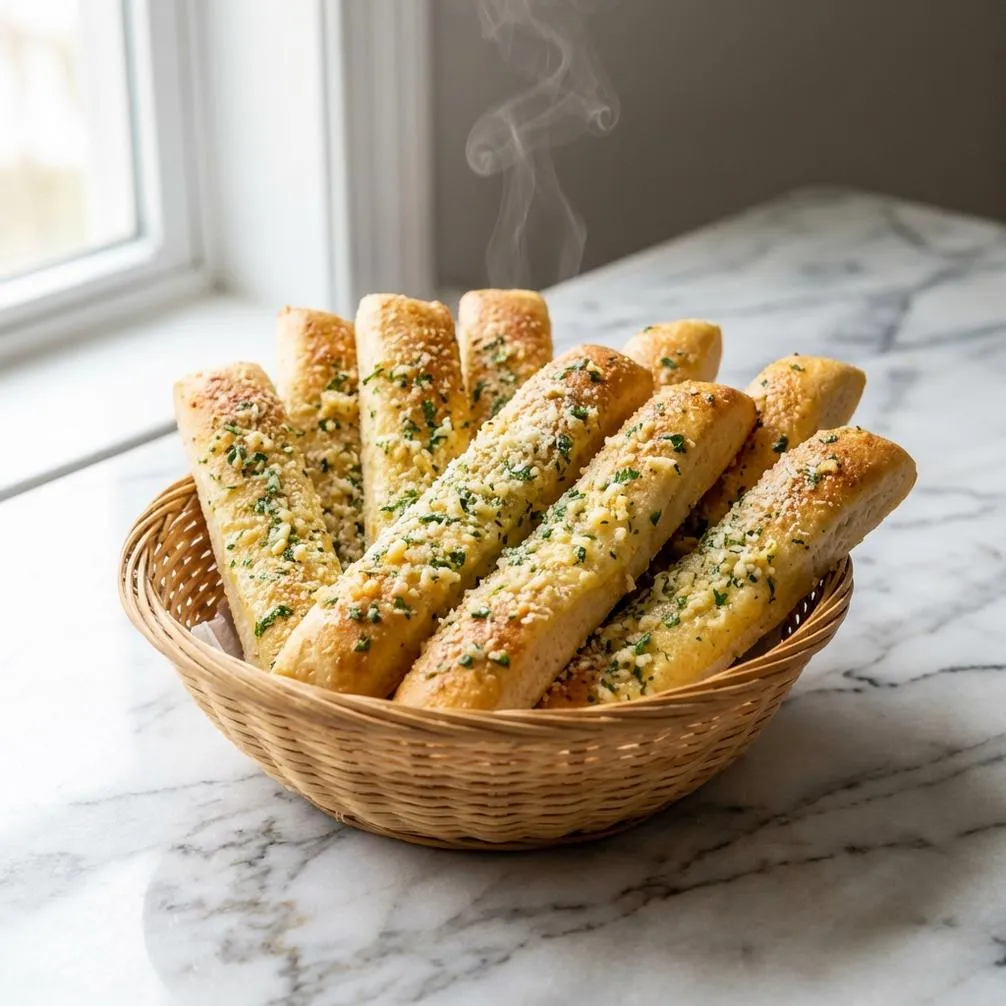
What truly sets these breadsticks apart is the garlic butter topping. We melt salted butter and mix it with freshly minced garlic and a bit of dried parsley. You brush this amazing mixture on the breadsticks both before and after baking. The first layer bakes into the dough, infusing it with flavor, while the second layer adds a final glossy, buttery finish. For an extra touch, a sprinkle of Parmesan cheese creates a savory crust that is absolutely delicious.
Simple Ingredients for Amazing Breadsticks
One of the best parts about this recipe is that it uses pantry staples. You likely have most, if not all, of these ingredients on hand right now. There are no fancy flours or hard-to-find seasonings required to make these spectacular breadsticks.
Choosing Your Flour and Yeast
All-purpose flour works perfectly for this recipe, giving the breadsticks a tender crumb. You don’t need special bread flour. For the yeast, I recommend instant yeast (also called rapid-rise yeast) because it works faster and can be mixed directly with the dry ingredients. If you only have active dry yeast, you can still use it. Just make sure to proof it in the warm water with the sugar for about 5-10 minutes until it becomes foamy before adding it to the flour.
The Magic of Fresh Garlic and Butter
While you can use garlic powder in a pinch, fresh garlic makes a world of difference. Mincing your own garlic cloves releases more of their essential oils, resulting in a much more powerful and authentic flavor. Similarly, using real butter is non-negotiable. It provides a richness and taste that margarine or oil substitutes simply cannot match. Salted butter works well, but if you use unsalted, just add an extra pinch of salt to the topping.
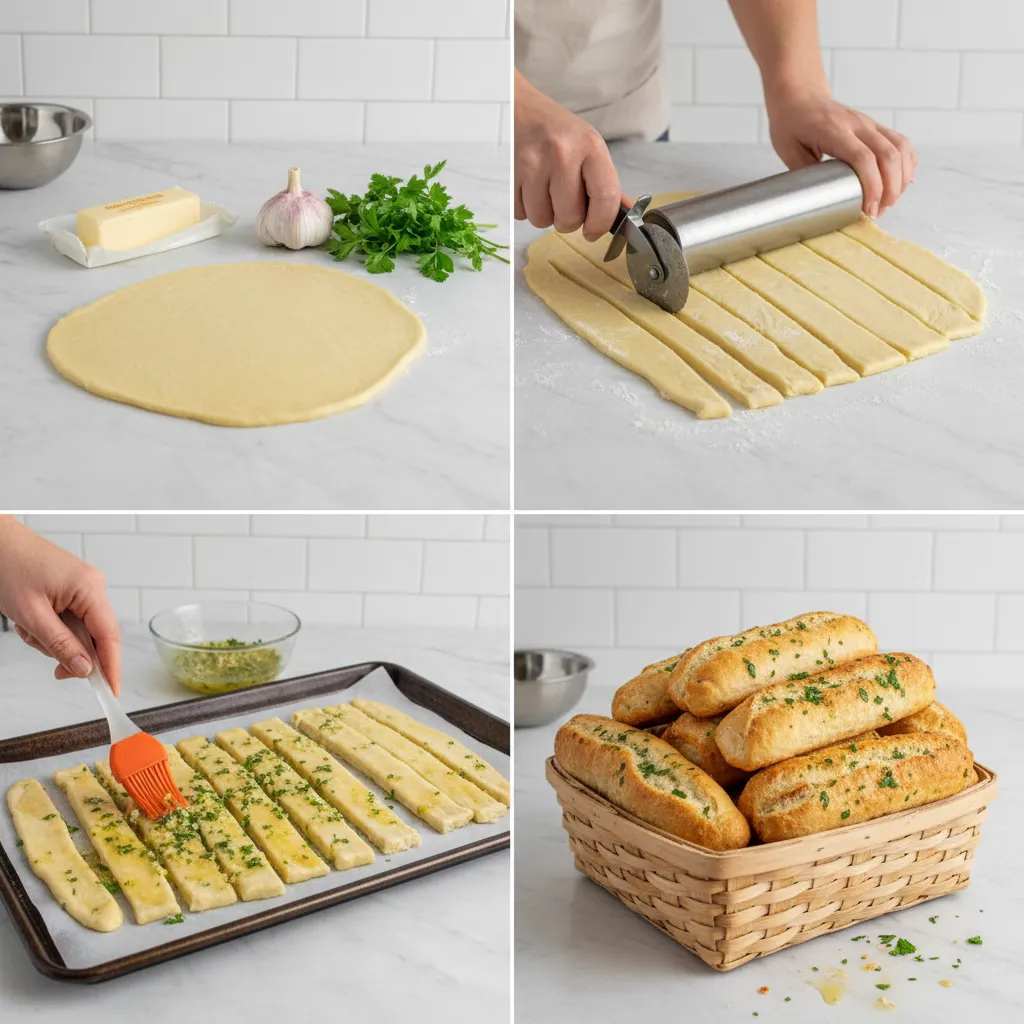
Crafting Your Homemade Garlic Breadsticks
The process of making homemade garlic breadsticks is incredibly rewarding. From mixing the soft dough to shaping each stick and watching them puff up in the oven, every step is simple and fun. This recipe breaks it down into three main stages: making the dough, shaping the sticks, and baking them to golden perfection. It’s a wonderful recipe to make with kids, as they can help roll and shape the dough.
Step 1: Making and Kneading the Dough
First, you will combine the dry ingredients in a large bowl. Then, you add the warm water and olive oil and mix until a shaggy dough forms. Turn the dough out onto a lightly floured surface and knead for about 5-7 minutes. The goal is a smooth, elastic ball. Place it in a lightly oiled bowl, cover it, and let it rise in a warm spot for about an hour, or until it has doubled in size. This resting period develops the flavor and texture of the bread.
The History of the Humble Breadstick
While we enjoy these buttery creations, the breadstick has a long history, originating in Italy in the 17th century. Known as grissini, the original versions were thin and crisp, quite different from the soft, doughy breadsticks popular in North America today. They were created for a young duke with digestive problems, as the dry, crunchy texture was easier for him to stomach. Over time, the concept evolved, leading to the softer, richer versions we love today.
Baking and Serving Your Breadsticks
Once your dough has risen, the final steps are quick and easy. This is where the kitchen starts to smell amazing and everyone gets excited for dinner. Paying attention to a few small details during baking will give you perfectly golden and delicious breadsticks every single time.
Getting that Perfect Golden-Brown Bake
After shaping your breadsticks, you’ll brush them with the garlic butter mixture before they go into the oven. This initial coating helps them brown beautifully. Bake them in a preheated oven at 400°F (200°C) for about 12-15 minutes. Keep an eye on them; they are done when the tops are a deep golden brown and they sound hollow when tapped. As soon as they come out of the oven, brush them generously with the remaining garlic butter. This final step makes them glisten and adds another layer of incredible flavor.
What to Serve with Your Breadsticks
These Easy Garlic Breadsticks are incredibly versatile. They are the classic partner for any pasta dish, perfect for sopping up extra sauce. They are also wonderful served alongside a hearty soup or a fresh salad. For a complete and comforting family meal, they pair wonderfully with creamy chicken dishes that are both simple and satisfying. You can also serve them as an appetizer with a side of warm marinara sauce for dipping.
Easy Garlic Breadsticks
Easy Garlic Breadsticks
Ingredients
Breadstick Dough
- 3 cups all-purpose flour plus more for dusting
- 1 tbsp granulated sugar
- 2.25 tsp instant yeast 1 standard packet
- 1.5 tsp salt
- 1 cup warm water 105-115°F (40-46°C)
- 2 tbsp olive oil
Garlic Butter Topping
- 0.5 cup salted butter melted
- 3 to 4 cloves garlic minced
- 1 tsp dried parsley
- 0.25 cup grated Parmesan cheese optional
Notes
Frequently Asked Questions
Can I make these breadsticks ahead of time?
Yes, you can prepare the dough up to 24 hours in advance. After kneading, place it in an oiled bowl, cover it tightly, and refrigerate. When you are ready to bake, let the dough sit at room temperature for about 30 minutes before shaping and baking as directed.
What can I serve with garlic breadsticks?
Garlic breadsticks are a perfect side for countless dishes. They pair beautifully with pasta, lasagna, soups, and stews. They are also great with salads or as part of an appetizer platter with marinara or a cheese dip.
How do I store leftover garlic breadsticks?
Store any leftovers in an airtight container or zip-top bag at room temperature for up to 3 days. To reheat, wrap them in foil and warm them in a 350°F (175°C) oven for about 5-7 minutes, or until soft and heated through.
Can I use store-bought pizza dough for this recipe?
Absolutely! If you’re short on time, a 1-pound ball of store-bought pizza dough is a great shortcut. Let the dough come to room temperature, then roll it out, cut it into strips, and follow the recipe from step 5 for topping and baking.
Conclusion
Making these Easy Garlic Breadsticks from scratch is a simple pleasure that fills your home with an incredible aroma and your table with a truly special side dish. They are soft, flavorful, and so much better than anything you can buy at the store. I hope this recipe brings as much joy to your kitchen as it does to mine. Happy baking