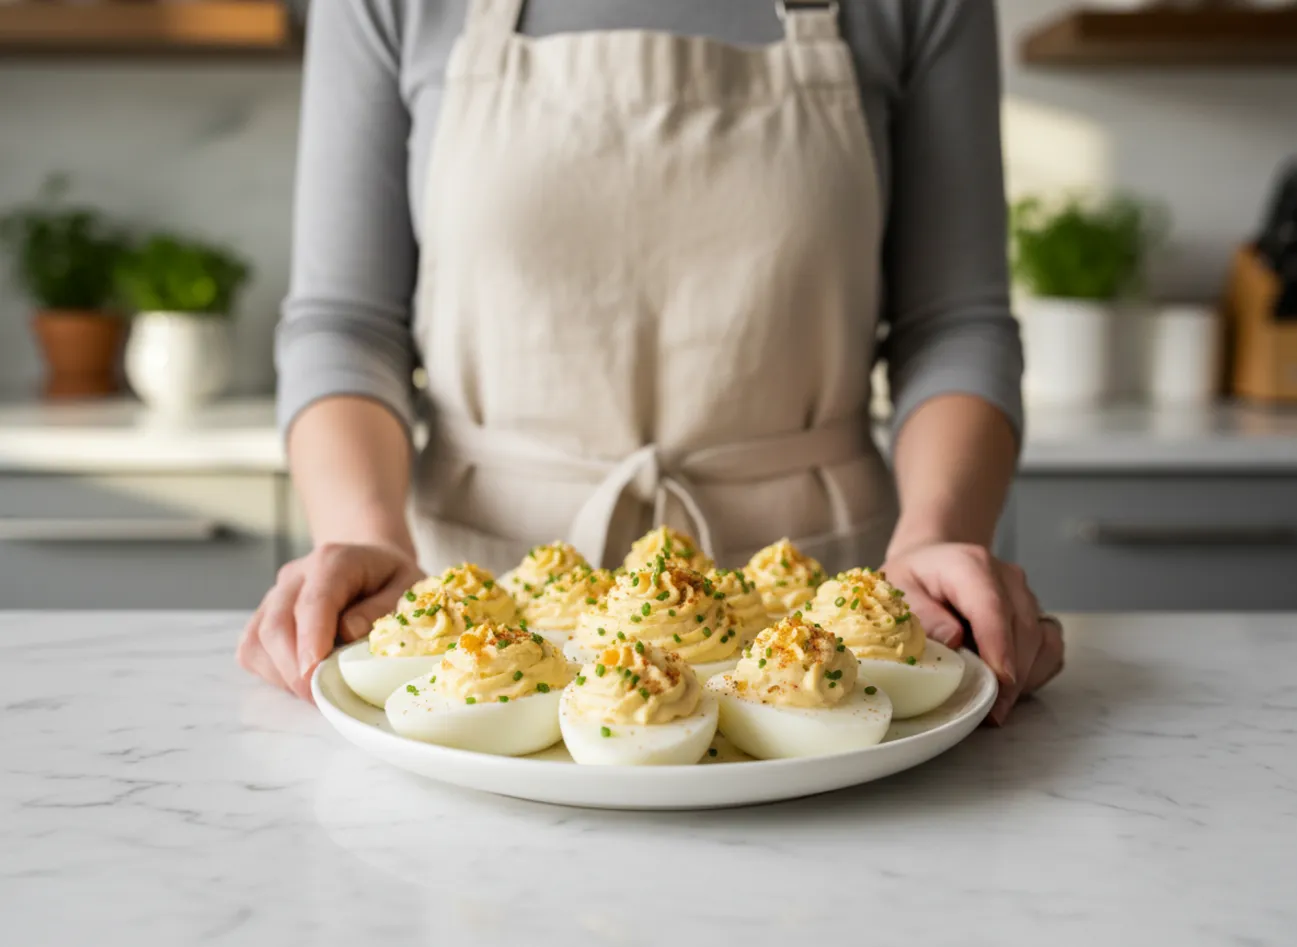
Some foods are just pure nostalgia, and for me, nothing brings back memories of family gatherings quite like a platter of Classic Deviled Eggs. I can still picture my grandmother’s steady hands piping the creamy yolk filling into perfect little mounds. They were the first thing to disappear at every potluck, holiday dinner, and summer picnic. It was a simple, perfect appetizer that everyone adored.
Today, I’m sharing that very recipe with you. It’s the one I turn to time and again because it’s dependable, delicious, and always a crowd-pleaser. Making these Classic Deviled Eggs is surprisingly simple, and the result is a creamy, tangy bite of perfection. These eggs are a fantastic high-protein snack, much like another one of my favorites, this easy high-protein egg roll in a bowl. So, let’s get into the kitchen and make some Classic Deviled Eggs that would make my grandmother proud.
Why You’ll Love These Classic Deviled Eggs
There’s a reason this appetizer has remained a favorite for generations. Beyond the taste, Classic Deviled Eggs represent comfort and community. They are the go-to dish for sharing with friends and family, and their simple preparation means you can focus on the people you’re with, not just the food.
Simple Ingredients, Big Flavor
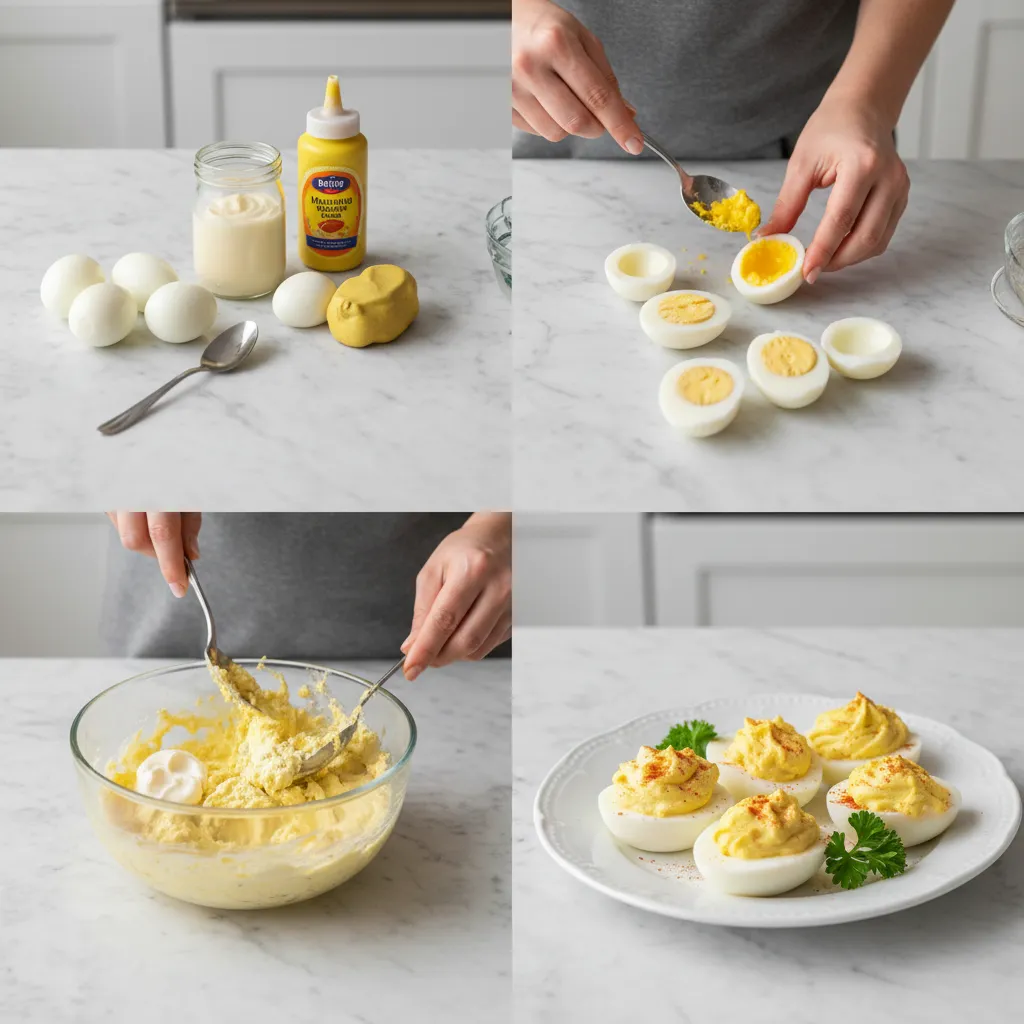
You don’t need a long list of fancy ingredients to make incredible deviled eggs. This recipe relies on kitchen staples that you probably already have. We use large eggs, creamy mayonnaise, a touch of Dijon mustard for tang, and a splash of vinegar for brightness. The magic happens when these simple components come together. The filling becomes incredibly smooth and flavorful, creating a perfect balance against the firm egg white. It’s a testament to how basic ingredients can create something truly special.
The Perfect Party Appetizer
Are you looking for a dish that will vanish from the serving platter? These Classic Deviled Eggs are your answer. First, they are naturally gluten-free and low-carb, which makes them a great option for guests with dietary considerations. Second, you can prepare them ahead of time, which frees you up before your event. Finally, they are easy to eat with your hands, making them ideal for mingling at parties, picnics, or barbecues. Their universal appeal means everyone, from kids to adults, will reach for one.
Making the Perfect Hard-Boiled Eggs
The foundation of any great Classic Deviled Eggs recipe is the perfectly cooked hard-boiled egg. Getting this step right is crucial for both the texture of the egg white and the quality of the yolk. A chalky, overcooked yolk or a runny, undercooked one can spoil the final result.
The Stovetop Method
For consistent results, the stovetop method is my trusted technique. Start by placing your eggs in a single layer at the bottom of a saucepan. Next, add enough cold water to cover the eggs by about one inch. Bring the water to a rolling boil over high heat. As soon as it reaches a full boil, immediately turn off the heat, cover the pot with a lid, and let the eggs sit in the hot water for 12 minutes. This gentle cooking prevents the yolks from turning grey-green and results in a tender egg white.
The Secret to Easy Peeling
Peeling hard-boiled eggs can sometimes be frustrating, but a few simple tricks make it much easier. After the eggs have finished cooking in the hot water, immediately transfer them to an ice bath. This is simply a large bowl filled with ice and water. The shock of the cold water causes the egg to contract slightly from its shell, which helps in peeling. Let the eggs cool completely in the ice bath for at least 10 minutes. To peel, gently tap the egg on a hard surface to crack the shell all over, then roll it between your palms. The shell should slide right off.
Crafting the Best Deviled Eggs Recipe
Once your eggs are perfectly cooked and peeled, you are ready to assemble what many consider the best deviled eggs recipe. The key is achieving a smooth, creamy, and flavorful filling that complements the simple egg white halves. This part of the process is where you can add your personal touch.
Getting the Creamiest Filling
For an exceptionally creamy filling, I recommend using a fine-mesh sieve or a potato ricer to break down the yolks. After you slice the eggs in half and scoop out the yolks into a bowl, push them through the sieve with a spatula. This extra step removes any lumps and creates a silky-smooth base. Then, add your mayonnaise, Dijon mustard, and white vinegar. Mix everything together with a whisk until it’s light and fluffy. Taste the filling and season it with salt and pepper. Don’t be shy with the seasoning; the egg whites are plain, so the filling needs to be well-flavored.
A Brief History of Deviled Eggs
Have you ever wondered where this popular dish came from? The concept of seasoning and stuffing eggs dates back to ancient Rome, where boiled eggs were served with spicy sauces as a first course. The term “deviled,” however, came about much later in the 18th century and was used to describe any food that was highly spiced or zesty. You can read more about the dish’s interesting journey through culinary history on the deviled egg Wikipedia page. Over time, the Classic Deviled Eggs we know and love today became a staple in American kitchens, particularly for social gatherings.
Tips and Variations for Classic Deviled Eggs
While this recipe for Classic Deviled Eggs is fantastic on its own, it also serves as a wonderful canvas for your own creativity. You can easily adjust the ingredients or add different toppings to make a version that is uniquely yours. Experimenting is part of the fun of cooking.
Fun Toppings and Garnishes
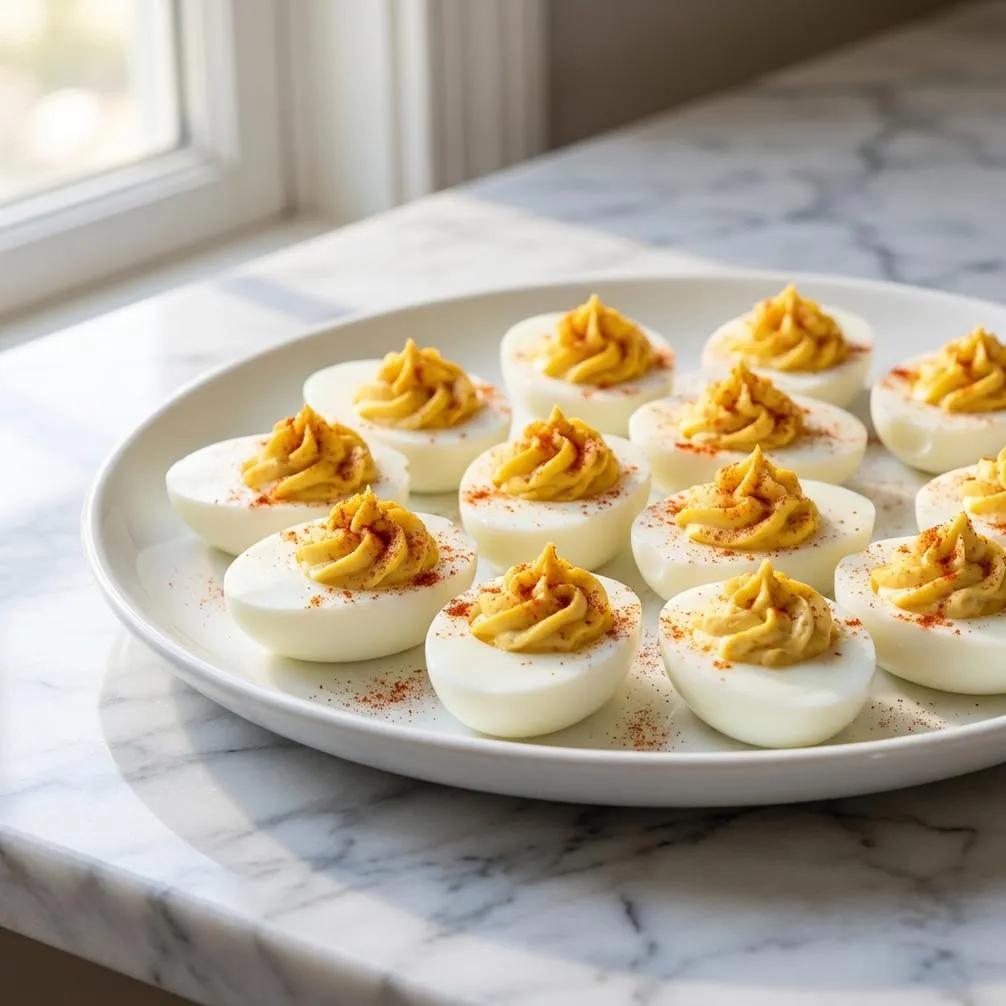
The classic garnish for deviled eggs is a sprinkle of paprika, which adds a beautiful touch of color and a hint of smoky flavor. However, you can try many other toppings. For a little texture, add crumbled bacon, finely chopped chives, or a sprinkle of toasted breadcrumbs. For a touch of heat, a thin slice of jalapeño or a dash of hot sauce works well. You could also add fresh dill, capers, or even a tiny cooked shrimp to each egg for an elegant twist.
Making Them Ahead of Time
One of the best things about making Classic Deviled Eggs is that you can prepare most of the components in advance. You can boil and peel the eggs up to two days ahead of time. Store the egg white halves in an airtight container in the refrigerator. You can also make the yolk filling a day in advance and store it separately in another airtight container or a piping bag. When you’re ready to serve, simply pipe or spoon the filling into the egg whites, add your garnish, and they’re ready to go. This makes party preparation so much easier.
Classic Deviled Eggs Recipe
Classic Deviled Eggs
Ingredients
Eggs & Filling
- 6 large eggs
- 0.25 cup mayonnaise
- 1 tsp Dijon mustard
- 1 tsp white vinegar
- to taste salt
- to taste freshly ground black pepper
- for garnish paprika
- optional fresh chives, finely chopped for garnish
Notes
Frequently Asked Questions
How far in advance can you make classic deviled eggs?
You can make them up to two days in advance, but you should store the components separately. Keep the cooked egg white halves in one airtight container and the yolk filling in another. Assemble the deviled eggs just before serving for the best freshness and appearance.
Why are my deviled eggs watery?
Watery filling is usually caused by not drying the egg whites properly after peeling or by adding too much liquid (like vinegar or relish juice). Make sure to pat the egg white halves dry with a paper towel before you fill them.
What can I use instead of mayonnaise in deviled eggs?
If you’re not a fan of mayonnaise, you can substitute it with Greek yogurt or sour cream for a similar creamy texture with a bit more tang. You could also use mashed avocado for a completely different, delicious twist.
How do you get the yolk in the center of a hard-boiled egg?
To help center the yolks, you can store the eggs on their side in the carton for a day before boiling them. Another trick is to stir the water gently as the eggs begin to cook, which helps the yolk settle in the middle.
Conclusion
This Classic Deviled Eggs recipe is more than just an appetizer; it’s a piece of culinary history that continues to bring people together. Its simple preparation and timeless flavor make it a staple for any occasion. I hope this recipe helps you create wonderful memories around your table, just as it has for me and my family for years. Enjoy every creamy, delicious bite