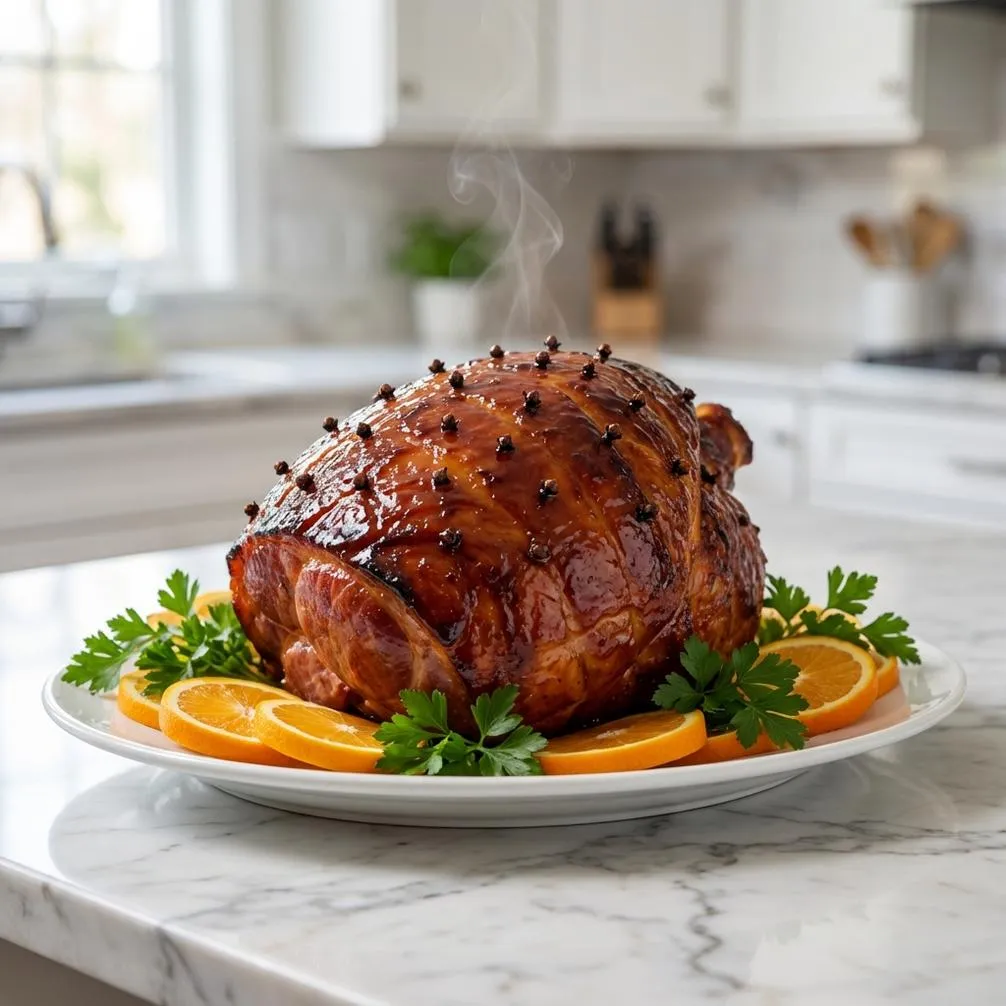
Holidays at my grandmother’s house always centered around one thing: the magnificent baked ham sitting at the center of the table. It wasn’t just any ham; it was a masterpiece with a glistening, caramelized crust that cracked ever so slightly under the fork. The secret, she’d always say, was in the sauce. For years, I tried to replicate that magic, testing countless recipes until I finally perfected what I can confidently call the best ham glaze I’ve ever tasted. It’s a simple, four-ingredient wonder that turns any baked ham into a showstopper.
This recipe is more than just a topping; it’s a tradition. It creates a sweet and tangy crust that perfectly complements the salty, savory meat. You don’t need a long list of complicated ingredients to achieve incredible flavor. What makes this the best ham glaze is its perfect balance and foolproof method. It’s the kind of recipe that builds confidence in the kitchen and creates lasting memories around the dinner table. If you want to serve a holiday ham that people will talk about for years, this is the recipe you need.
Why This is The Best Ham Glaze You’ll Ever Make
Finding a ham glaze that is both simple and packed with flavor can be a challenge. Many recipes call for obscure ingredients or complicated steps. This recipe, however, stands apart because it focuses on four simple, high-impact ingredients that work together beautifully. The result is a glossy, deeply flavorful coating that transforms your ham from good to unforgettable. The magic of the best ham glaze lies in its ability to create a candy-like crust without overpowering the natural taste of the pork.
Simplicity is Key
You do not need a pantry full of spices to make a spectacular glaze. This recipe uses brown sugar, honey, Dijon mustard, and a touch of apple cider vinegar. Each ingredient plays a specific role. The brown sugar and honey provide the sweetness and help the glaze caramelize into a beautiful dark amber crust. The Dijon mustard adds a zesty, tangy counterpoint that cuts through the richness, while the apple cider vinegar brightens the entire mixture. Together, they create a balanced flavor profile that is sweet, tangy, and absolutely addictive. This straightforward approach proves you can achieve amazing results with just a few quality components.
A Perfect, Crackly Crust
The texture of the glaze is just as important as its flavor. We want a coating that clings to the ham and bakes into a slightly crisp, lacquered shell. This recipe achieves that perfect texture by simmering the ingredients until they thicken slightly. When you brush this mixture onto the ham during the final stages of baking, the sugars caramelize under the heat, forming a sticky, crackly crust that is simply irresistible. This method gives you a professional-looking finish with minimal effort, cementing its status as the best ham glaze for any occasion.
Tips for a Perfect Holiday Ham Glaze
Applying the glaze correctly is crucial for achieving that picture-perfect finish. The timing and technique can make all the difference between a beautifully lacquered ham and a burnt, sticky mess. A few simple tips will help you get it right every time, making your holiday meal a true centerpiece. This glaze is so versatile it pairs well with almost any side dish, from classic mashed potatoes to something a little more elegant like these prosciutto asparagus puff pastry bundles.
When to Apply the Glaze
One of the biggest mistakes people make is glazing the ham too early. The high sugar content in this recipe means it can burn easily if exposed to heat for too long. For a fully cooked, spiral-cut ham that you are just heating, wait until the last 20-30 minutes of the total warming time to start glazing. This gives the sugars enough time to melt, caramelize, and create a beautiful crust without scorching. If you apply it at the beginning, the glaze will likely turn black and bitter before the ham is even heated through.
How to Build the Layers
For a thick, even coating, apply the glaze in multiple thin layers rather than one thick one. Start by brushing a layer of the warm glaze over the entire surface of the ham. Place it back in the oven for about 10 minutes. Then, remove the ham and brush on another layer. Repeat this process two or three times. This layering technique helps build a deep, rich flavor and a substantial crust that clings to every slice. You’ll notice the color deepening with each application, resulting in a stunning, glossy finish that makes the ham look as good as it tastes.
Creating a Classic Brown Sugar Ham Glaze
The foundation of this incredible recipe is a classic brown sugar ham glaze. This combination has stood the test of time for a reason: it just works. The molasses in the brown sugar brings a deep, rich sweetness that is more complex than plain white sugar. When combined with the floral notes of honey and the sharp tang of mustard, it creates a glaze that is perfectly balanced. This recipe honors that tradition while keeping things incredibly simple.
The Role of Brown Sugar and Honey
Light brown sugar is the star of the show. Its fine, moist texture dissolves easily into the other ingredients, creating a smooth sauce that brushes on beautifully. During baking, the sugar melts and bubbles, turning into a glorious, sticky coating. The honey adds another layer of sweetness and also helps the glaze adhere to the ham. I prefer using a mild clover honey, but you could experiment with other varieties for different flavor notes. Together, these two sweeteners are responsible for the glaze’s signature color and candy-like texture.
Balancing with Mustard and Vinegar
Without acidity, a sugar-based glaze can be overwhelmingly sweet. That’s where the Dijon mustard and apple cider vinegar come in. The Dijon mustard provides a sharp, pungent kick that cuts through the sweetness and adds a savory depth. Its emulsifying properties also help keep the glaze from separating. The apple cider vinegar contributes a bright, tangy acidity that balances the richness of the pork and the sugars. It awakens all the flavors and keeps the glaze from tasting flat. The choice of a high-quality cooked ham is important, as its savory flavor provides the perfect canvas for these powerful ingredients.
Preparing and Storing Your Ham Glaze
One of the best parts about this recipe is how easy it is to manage, even during the busiest holiday cooking schedule. You can prepare it ahead of time, and it stores wonderfully, which frees you up to focus on other dishes. Knowing you have the best ham glaze ready to go removes a significant amount of stress from holiday meal prep.
Making the Glaze Ahead of Time
You can make this glaze up to five days in advance. Simply combine all the ingredients in a small saucepan and simmer for a few minutes until the sugar is dissolved and the mixture has thickened slightly. Let it cool completely to room temperature, then transfer it to an airtight container or a glass jar. Store it in the refrigerator until you are ready to use it. This simple make-ahead step is a game-changer for organizing your time in the kitchen.
Storing and Reheating Leftover Glaze
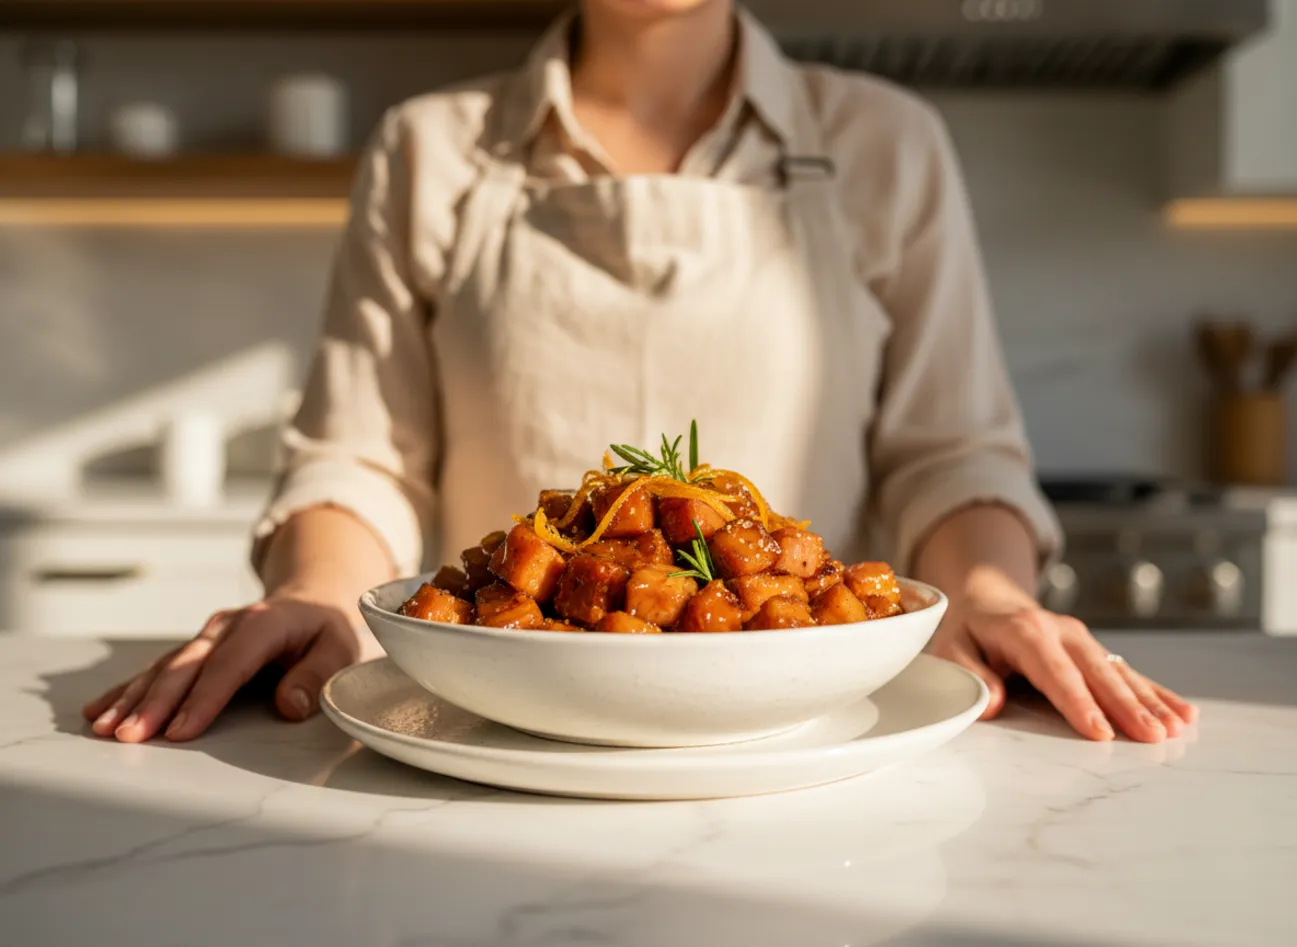
If you have any leftover glaze, don’t throw it away. It can be stored in an airtight container in the refrigerator for up to a week. The glaze will thicken and solidify as it cools due to the high sugar content. To use it again, simply reheat it gently in a small saucepan over low heat or in the microwave in short bursts, stirring until it is smooth and pourable again. Leftover glaze is fantastic brushed on pork chops, chicken wings, or even roasted vegetables like carrots and sweet potatoes.

The Best Ham Glaze
The Best Ham Glaze
Ingredients
- 1 cup light brown sugar packed
- 0.5 cup honey
- 0.25 cup Dijon mustard
- 1 tbsp apple cider vinegar
Notes
Frequently Asked Questions
What do you put on ham before glazing?
Before glazing, you typically don’t need to put anything else on a pre-cooked ham. The ham is already cured and cooked, so its flavor is well-established. Just pat the ham dry with paper towels before you start applying the glaze. This helps the glaze stick better to the surface of the meat.
Should ham be covered or uncovered when baking with glaze?
For most of the heating time, you should bake the ham covered with foil to prevent it from drying out. When it’s time to apply the glaze (during the last 20-30 minutes), remove the foil. Baking the ham uncovered during the glazing process is essential for the sugars to caramelize and form that delicious, glossy crust.
How many times should you glaze a ham?
For the best results, you should glaze the ham multiple times. Applying two to three thin layers is ideal. Brush on the first layer, bake for about 10 minutes, then repeat the process. This builds a thick, even, and deeply flavorful crust that won’t just slide off when you slice the ham.
Can I make this ham glaze ahead of time?
Absolutely! This is a great recipe to make ahead. You can prepare the glaze up to five days in advance. Just let it cool completely and store it in an airtight container in the refrigerator. When you’re ready to use it, gently warm it on the stove or in the microwave until it’s pourable again.
The Perfect Finish for Your Holiday Meal
There is nothing quite like a beautifully glazed ham to make a celebration feel special. This recipe for the best ham glaze delivers that special touch with very little fuss. With just four simple ingredients and a few minutes on the stove, you can create a sweet, tangy, and unforgettable crust that will have everyone asking for your secret. I hope this recipe brings as much joy to your table as it has to mine.